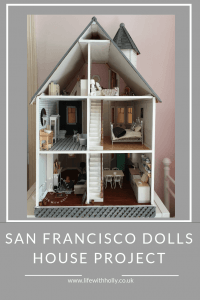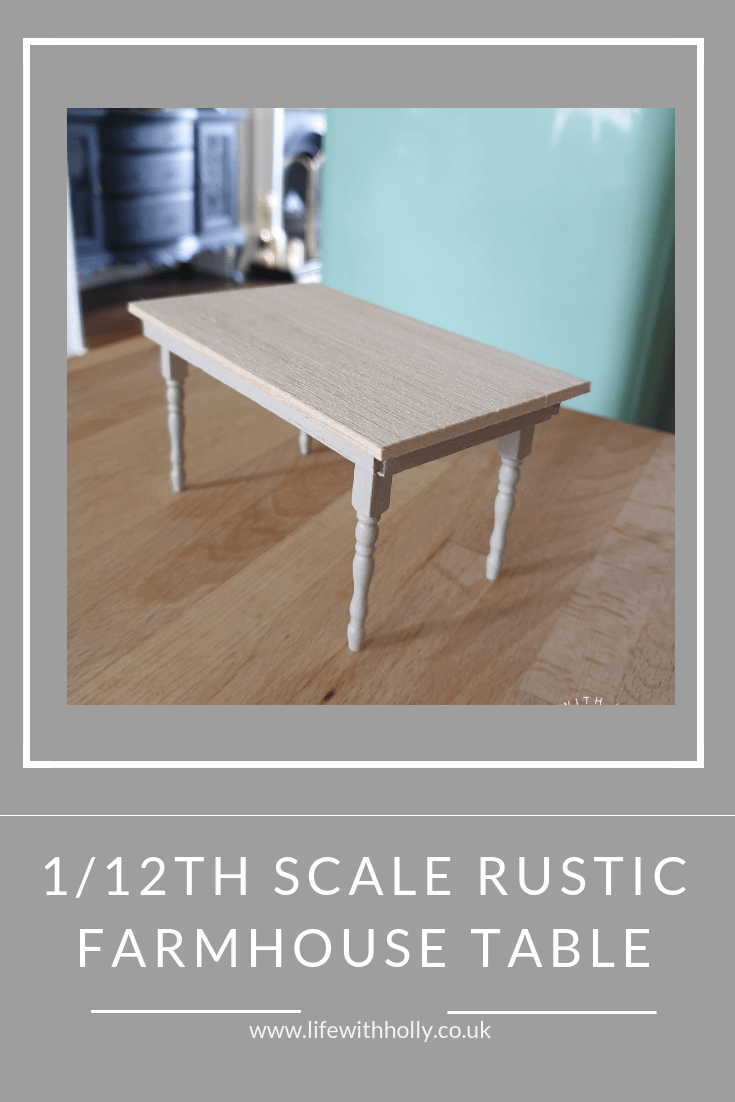
How to Make a 1/12th Scale Rustic Dolls House Dining Table
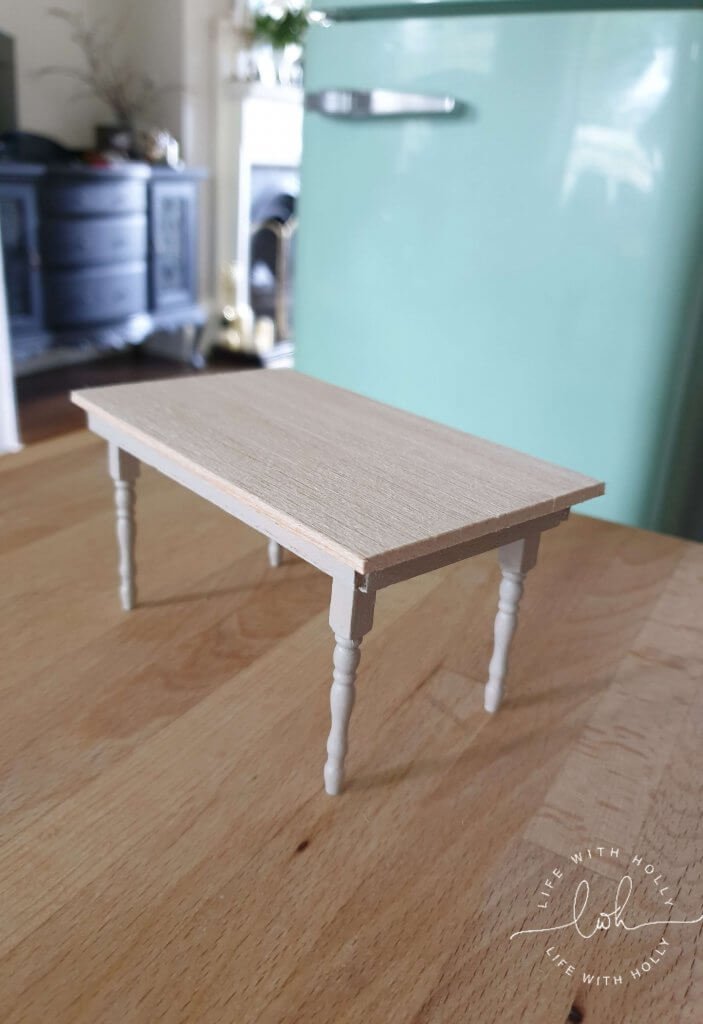
I had a go at making a replica of our scaffold plank dining table to go in the dolls house. It turned out pretty good, so I thought I’d share how I did it! This dolls house dining table is roughly 1/12th scale, but I’m not exact (I measure using a tape measure in the shape of a mouse and an owl ruler, I’m not profesh!).
YOU WILL NEED:
Balsa wood
Table legs (I got mine from Ebay)
Scalpel/Exacto knife/something to cut the balsa wood with
Gorilla or other wood glue
Measuring paraphenalia
Pencil
Scrap paper
Optional wine/patience while being nagged by a small child (“Is it ready yet?” x 1,000…)
So, onto our table!
The first job was to measure the actual real life table. Our table is 165cm by 90cm, so to get the size of my dolls house table top I divided these measurements by 12 (13.75cm x 7.5cm). I drew a rectangle on some scrap paper to check the size was about right (and that it would fit in the dolls house!).

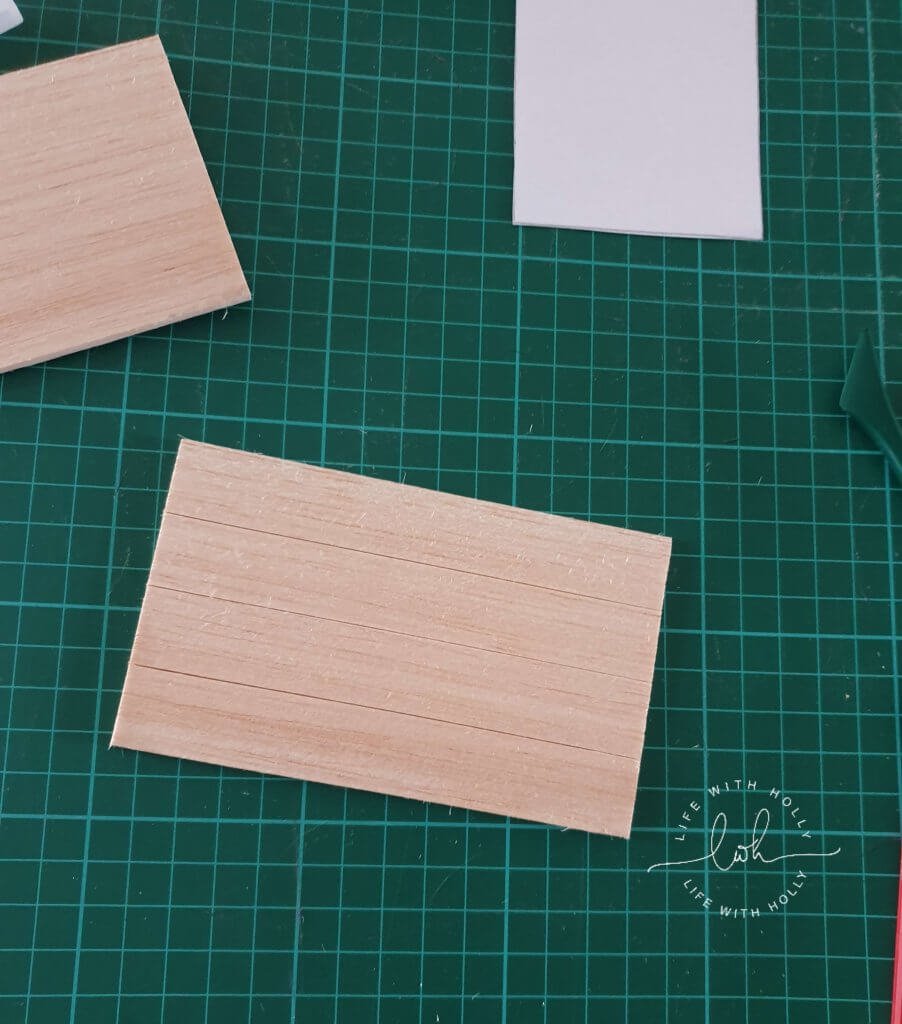
I then got out my trusty plank of balsa – this stuff is lasting me ages! It was a bargain from Calder Graphics in Huddersfield at £1.79. I used the scrap paper as a guide and cut out the table top. I marked a line down the middle of the table using a scalpel, and then another line between this central line and the edge of the table to make it look like scaffold planks. Don’t worry if it’s not exact, it’s meant to be rustic right?
The next job was to make some supports for the underside of the table, to stop the legs moving about. I did this by eye, but if you wanted to be exact with it you would cut two thin pieces of balsa approx 0.5cm wide by 1cm less than your table top width (in this case 0.5cm x 6.5cm) and two of approx 0.5cm width x 12.75cm). When these are secured to the underside of the table top, it ensures there’s a slight overhang.
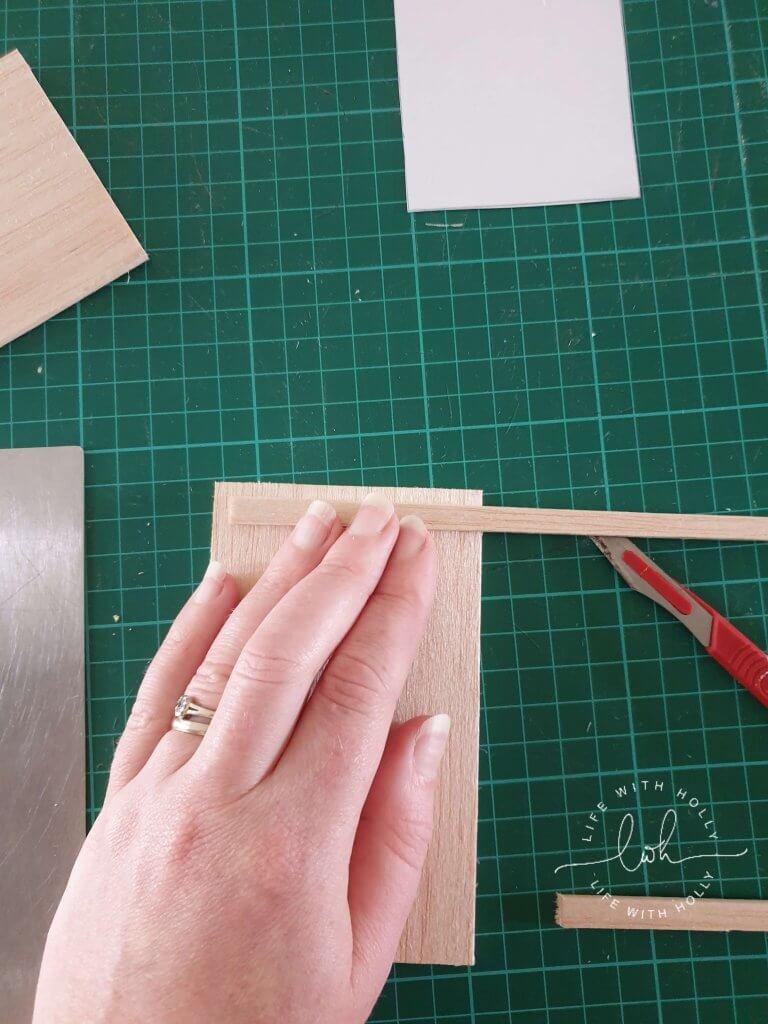
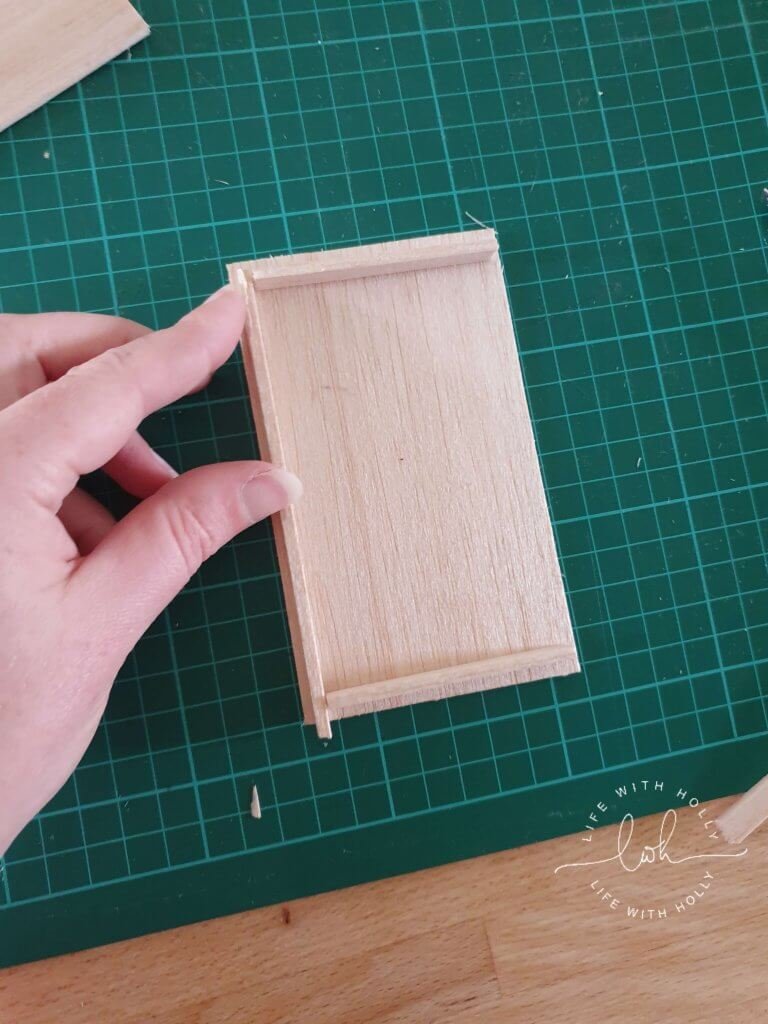
I trimmed these down a bit (should have measured!) as they were too long.
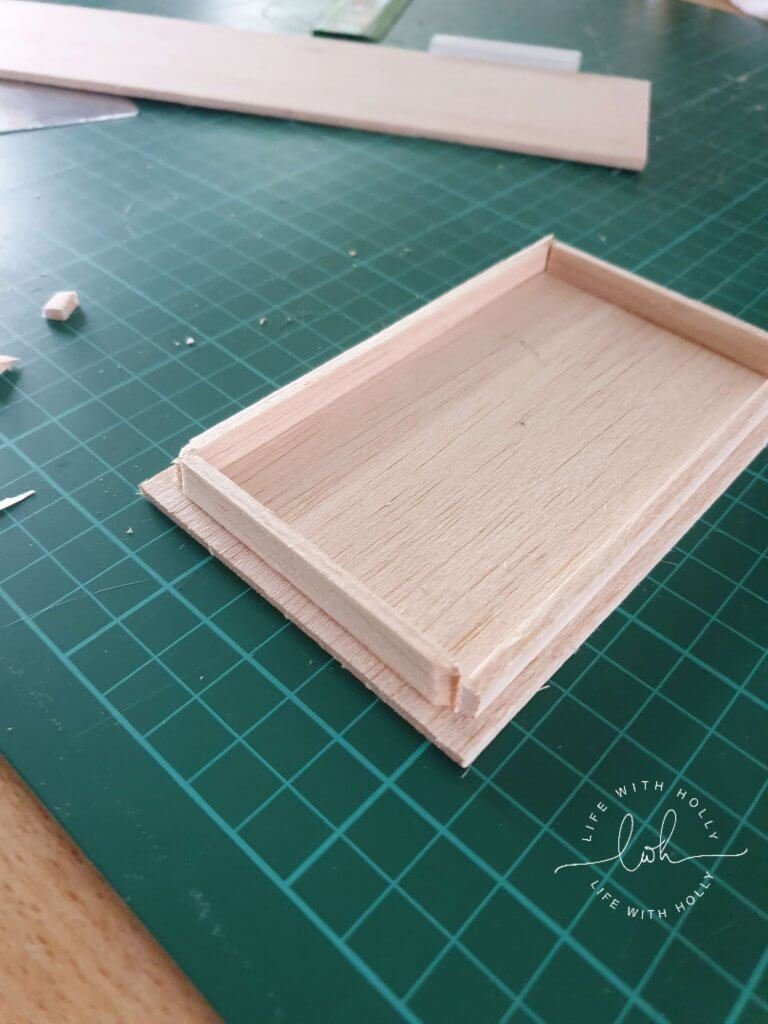
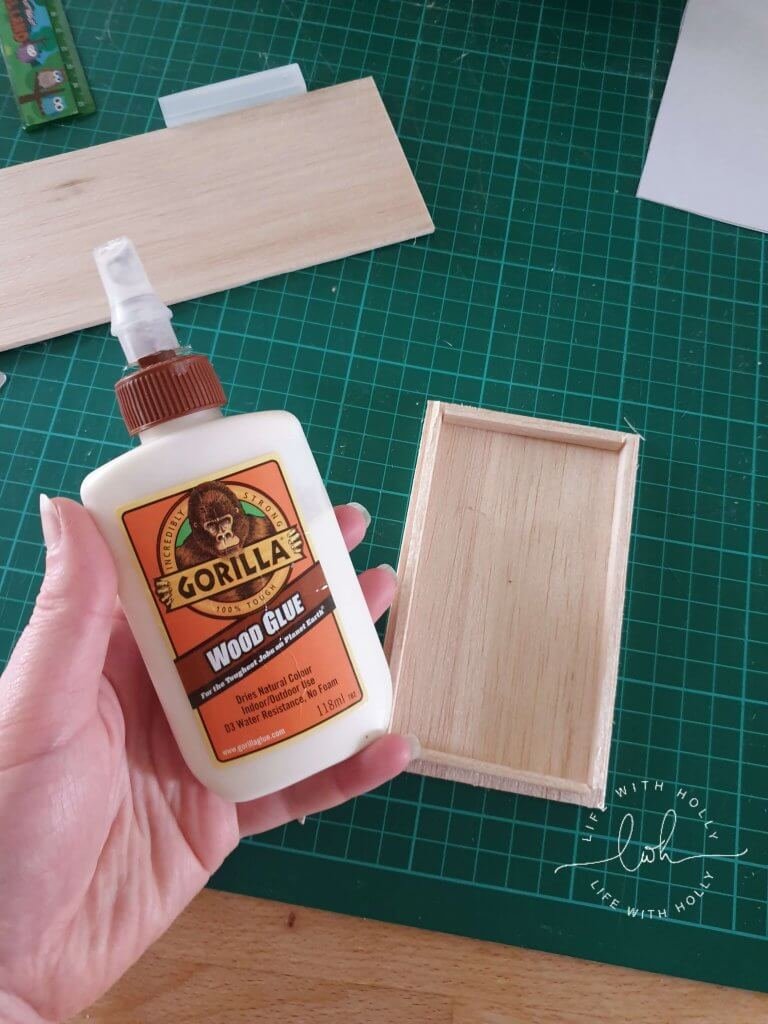
I then asked my able assistant to glue the table legs into each corner. I put a small amount of Gorilla Glue into each corner and she stuck the legs in. Easy!
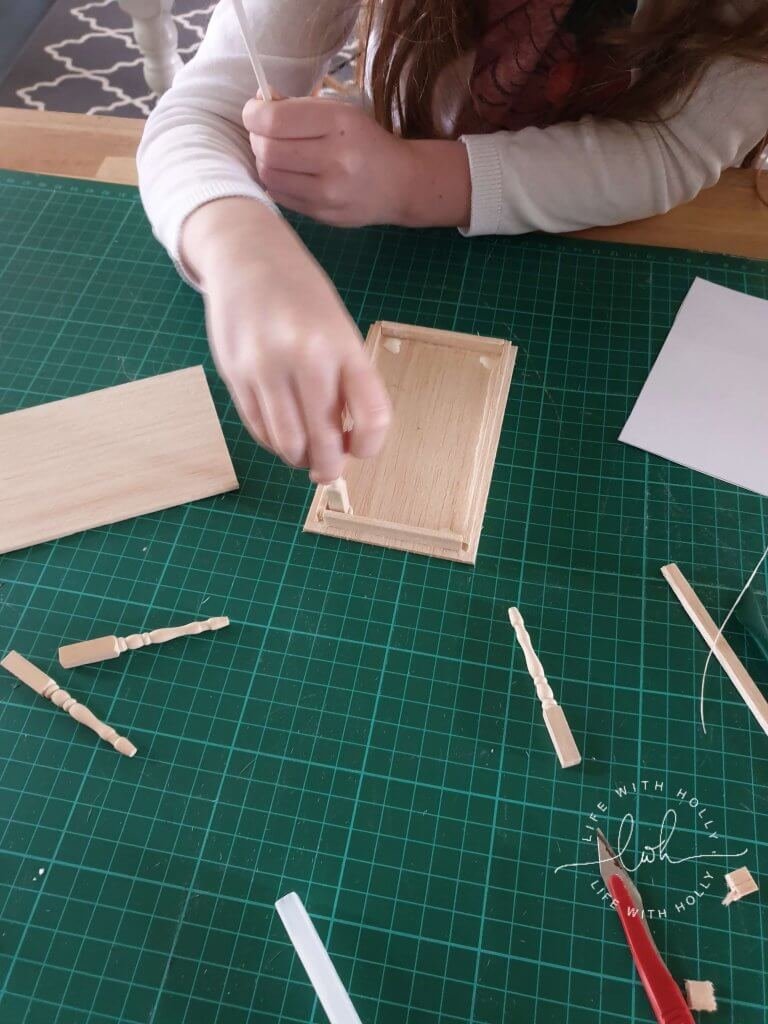
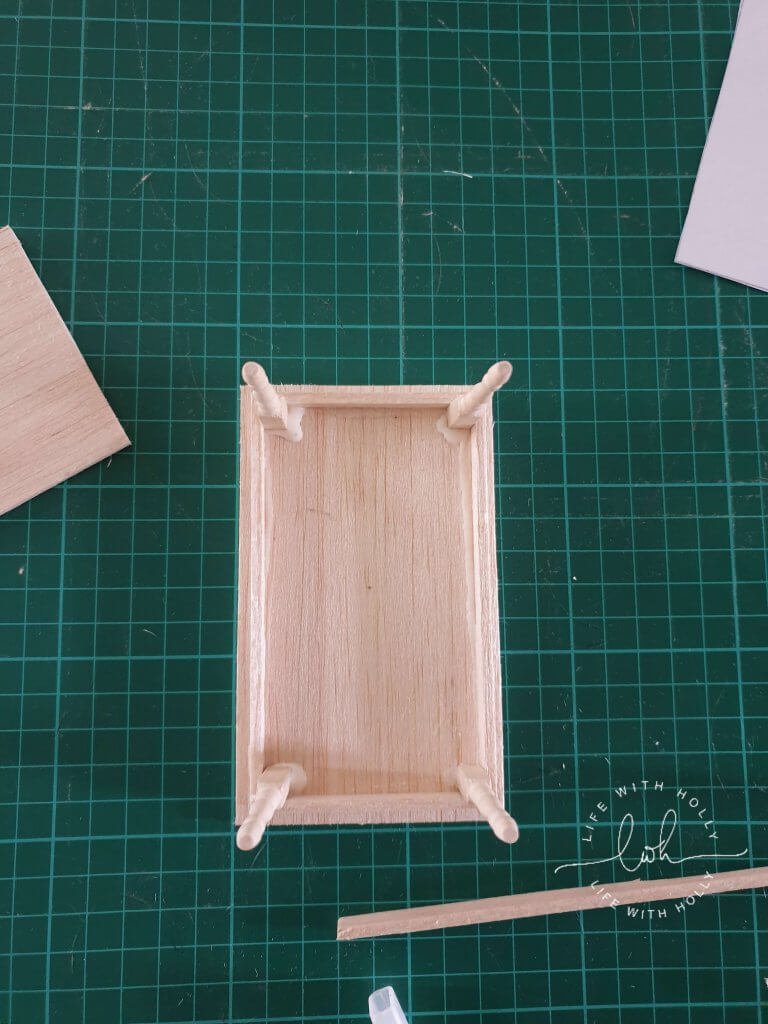
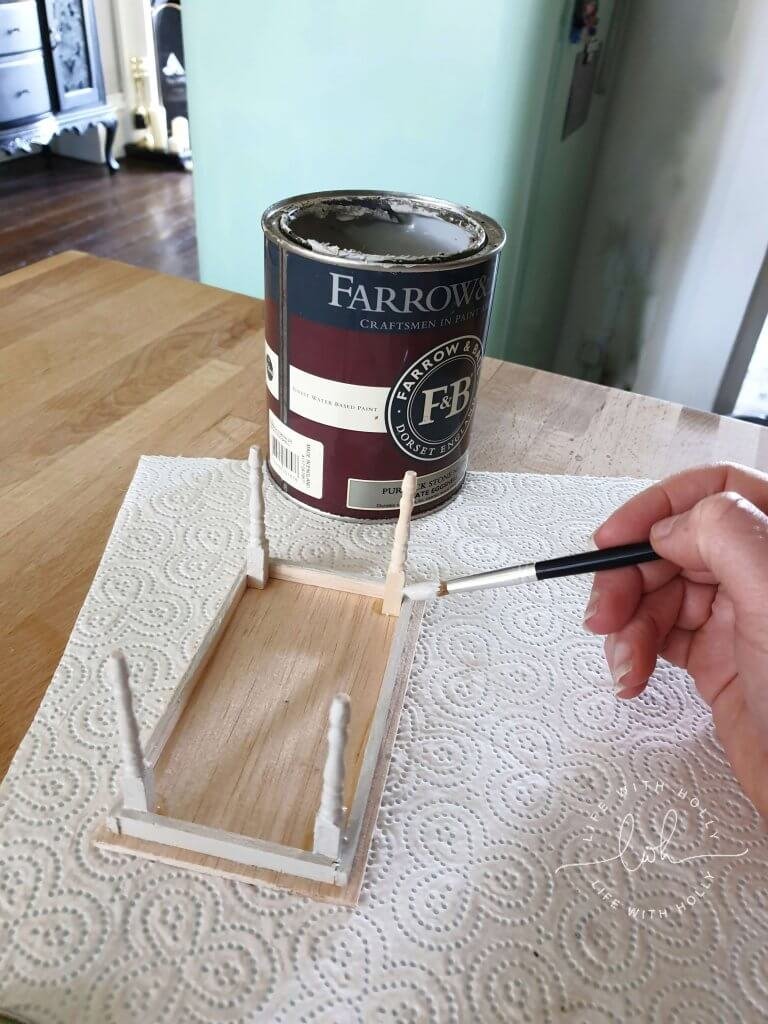
The next job was to paint the table. I used the same paint I used on our actual real life table, Estate Eggshell from Farrow and Ball in Purbeck Stone. I left the table top untreated (because I’m a bit lazy, and it looks pretty much like our actual table).
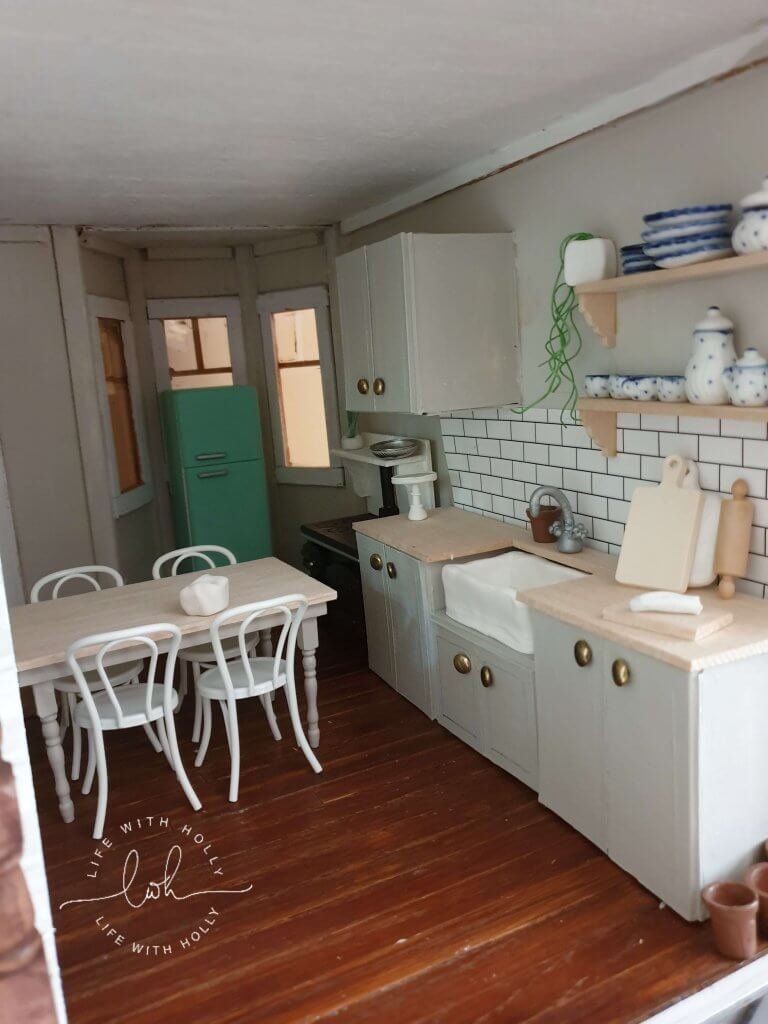
When the paint was dry, I handed it over to my assistant so she could arrange it in the dolls house. Safe to say, she loves it, and it is such an easy make! The table legs cost 99p and the actual table top cost next to nothing.
Let me know if you make one! Tag me on Instagram – I’m @life_with_holly.
