How to Make Paper Bag Stars for Christmas
Wondering how to make paper bag stars to decorate your home this Christmas? Here’s a super easy tutorial for paper stars made from brown paper bags!
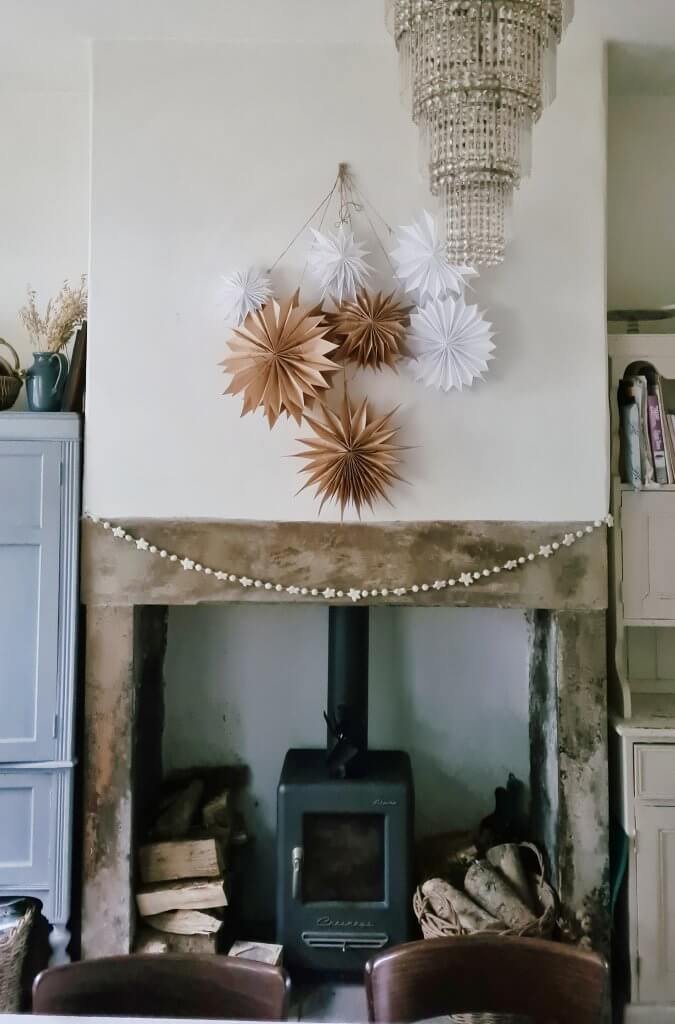
This time of year is a great excuse to get crafting. This is a really easy guide which will show you how to make stars from paper bags this Christmas. You can use your paper bag stars to create beautiful seasonal displays in your home. I like to display mine either on the stairs or on the chimney breast where my massive wreath usually goes.
This post may contain affiliate links, which means I may receive a small commission, at no cost to you, if you decide to purchase the items using the links. Thank you. Read the full Privacy Policy here. For more information please see our Disclaimer page.
So, what materials will you need to make paper bag stars?
Paper Bags – I used these ones for the brown stars and these ones for the white stars. I used 12 bags per star.
Glue Stick – I used this one
Scissors
Hole punch
Twine or string to hang your stars
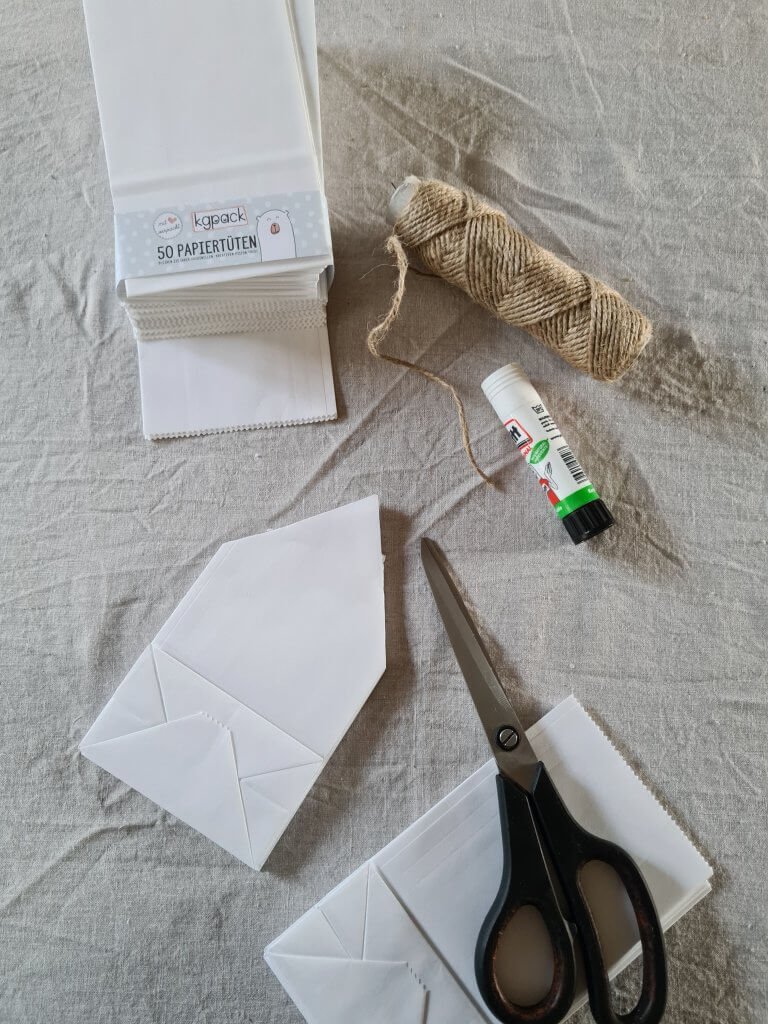
Now you have all your materials, let’s make easy paper stars! Here’s the paper bag stars tutorial.
First of all, count out your paper bags. I used 12 paper bags per star but you can use more or less depending on how full a star you want to make.
Cut the top corners off one paper bag, making it into a house shape. This will make the point of your star.

Use this paper bag as a template and cut the other bags. Either draw around the template with a pencil or just hold in place and cut round it. You may be able to cut 3 or 4 at a time depending on how thick the bags are and how big your scissors, but don’t worry if you can only do 1 or 2. Using the first cut bag as a template will mean all points of your paper bag star will look roughly the same. It doesn’t matter too much if they’re not perfect though.
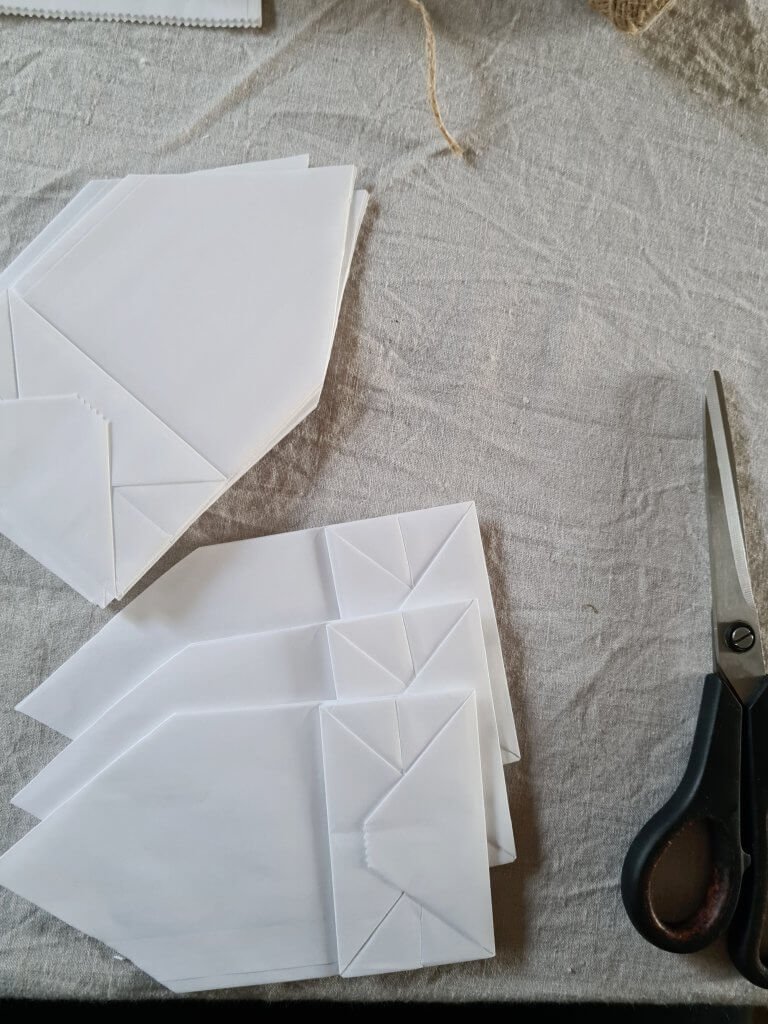
Once they’re all cut to shape, they need to be stuck together. Make sure all the paper bags are facing the same way up so the base part of the bag is folded the same way, as in the image above.
Apply glue to the whole of one side of the paper bag and fix another bag on top. Repeat until you have all 12 bags stuck together in a pile and leave to dry for 5-10 minutes.

Once dry, apply glue to one side of the pile of bags (we’ll call this Bag A), leaving the other side unglued (Bag B). Open the pile out like a concertina from the top and stick Bag A to Bag B. You should now have a round star! Leave this to dry for another 5-10 minutes then punch a hole in one of the points of the star.

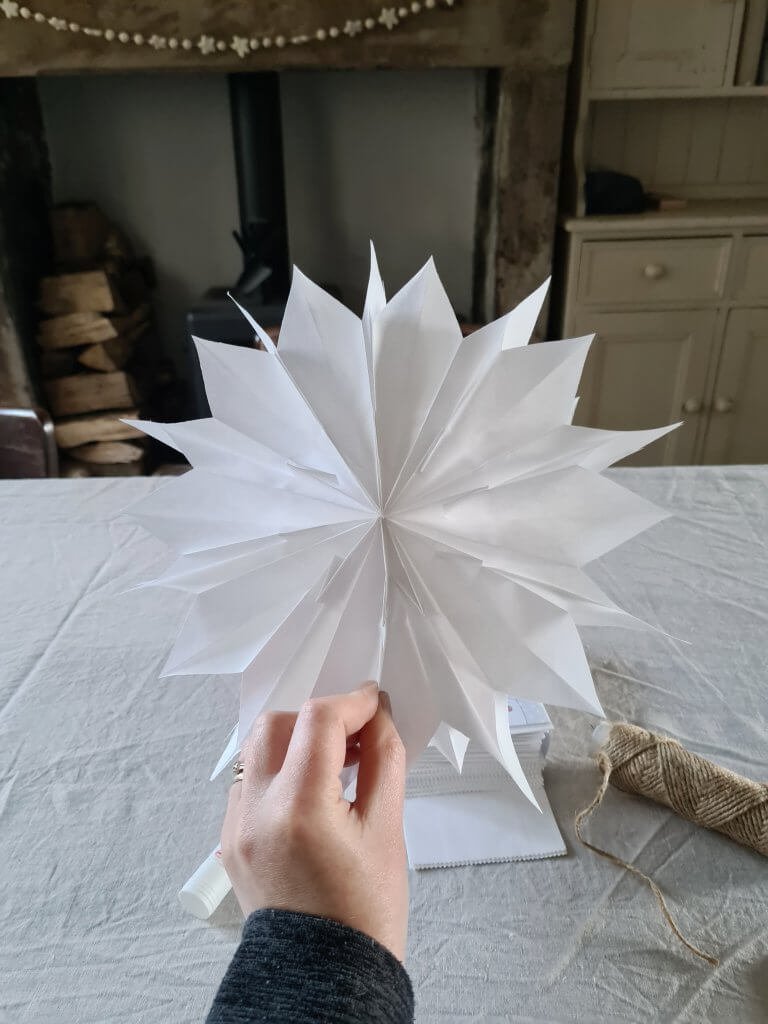
Thread some ribbon or twine through the hole and then hang up! You could hang them from a rustic branch or just from the nail that usually holds up your giant wreath if you’re like me!

I hope you found this easy tutorial for paper bag stars useful and I’d love to see if you make any! You can tag me in your photos on Instagram.
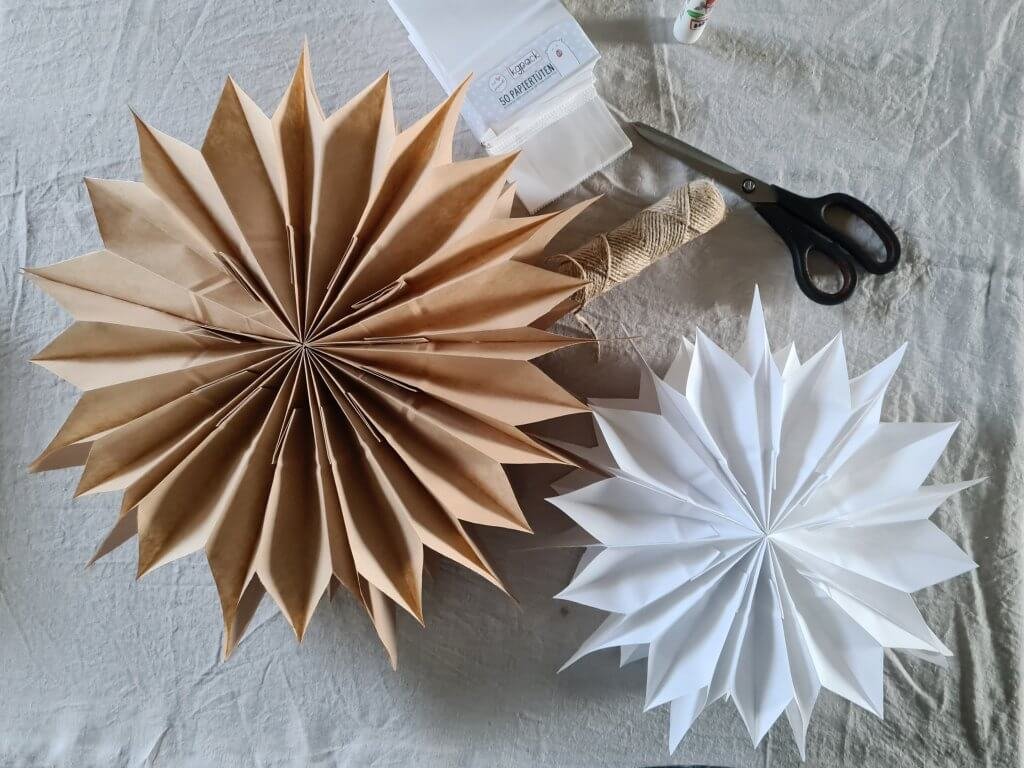
You might also like to read more Simple Neutral Christmas Decor Ideas.


