How to Panel a Victorian Hallway (An Easy Tutorial!)
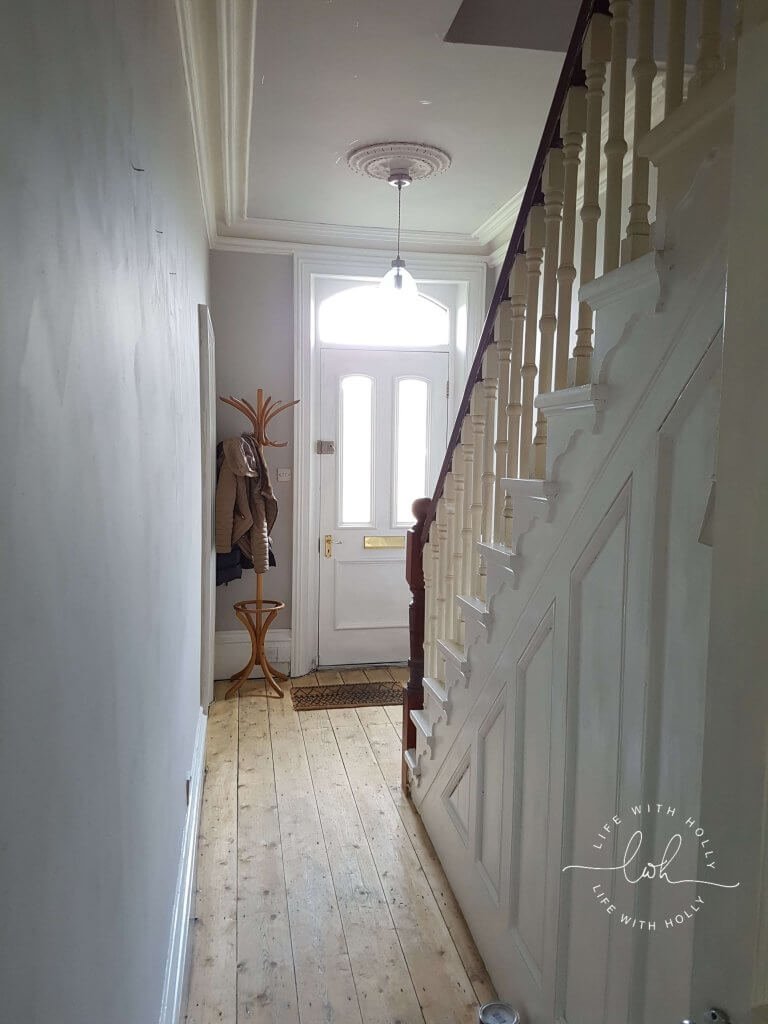
One job I’ve been meaning to do for about a million years is panel our Victorian hallway. I’ve finally done it! I felt like such a winner haha! The best part is, it only took two hours from start to finish, which included time for a chat to the post lady about vegan cakes and enough time for me to rip off the panelling and start again when I’d mismeasured around the plug socket, like an idiot. Here’s how to panel a Victorian hallway (or any hallway for that matter, it’s just that mine is Victorian). I should just add I only did the one wall, I’ve still got up the stairs to do!

My first job was to draw a plan so I could work out how much wood trim I needed. My wall is 357cm long and the gap between the skirting boards and the dado rail is 65cm. I split the wall into three equal sections of 119cm. I decided to have a 6.5cm gap between the beading and the surrounding bits (other walls, skirting board, dado rail etc) which meant that each piece of beading to create the panelled effect would be 106cm long for the horizontals and 52cm for the verticals. As the beading comes in 2.4m lengths I needed 5 lengths, but I bought 6 just in case I messed up.

Next job was to assemble the tools, like a proper pro. I’m clearly not! You will need:
- Your plan
- Pine beading (I used this one.)
- Tenon saw (or any kind of saw really, I don’t think it matters too much as long as it’s a hand saw)
- Mitre box for cutting the 45 degree angles
- Spirit level
- No More Nails
- Decorators caulk
- Pencil
- Tape measure
- Owl ruler (optional)
I started by marking the centre of the wall with pencil, actually on the wall. Here I am, in no way posing for this picture.

I measured 6.5cm down and drew a little mark.

I cut my first piece of wood with a 45 degree angle at each end, and marked the centre point of that, then squidged some No More Nails onto the back of it. I lined up the centre of the wood with the centre of the wall and stuck it on, checking with my spirit level that it was level. Luckily it was!


I then cut two vertical lengths and attached these, again making sure they were level. Then I cut and added another horizontal piece to make a rectangle. Et voila! One panel done!

I then followed the same process to create two more panels, one either side of the middle one.


Next job is caulking. This is super important, as there will always be gaps between the wood and the wall, no matter how perfect your plasterwork. The caulk just fills in those little gaps, ready for painting. Apply this using a trigger gun thing, and run your finger or a wet paper towel along to smooth over the caulk. When dry, you can paint it!


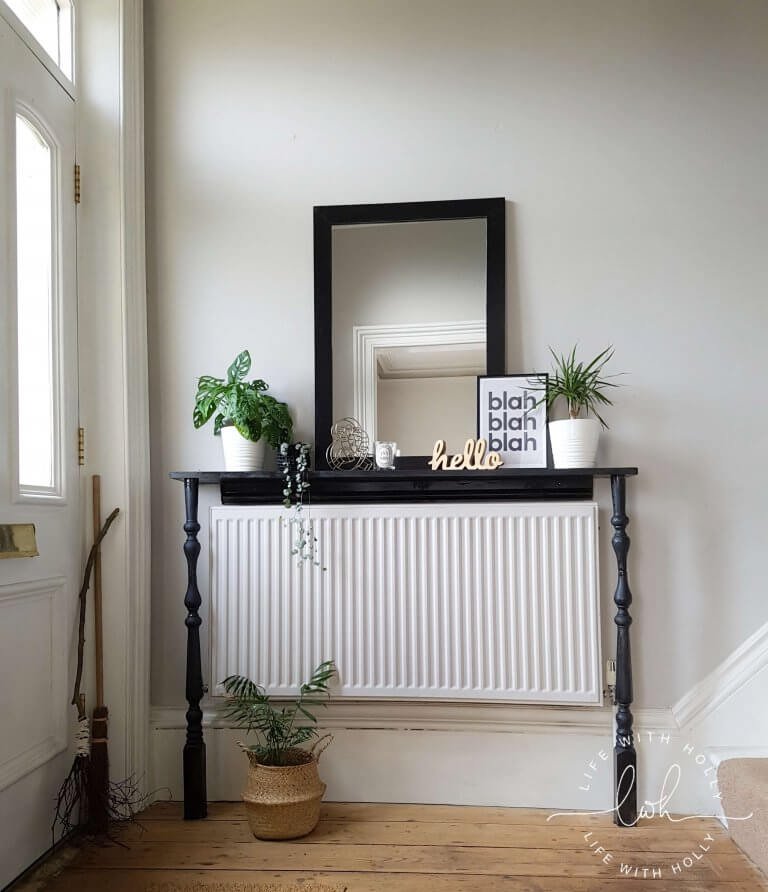
It was just a case of painting it then. I used Farrow and Ball Cornforth White as that’s what we used before.


And there you go, a really quick and easy makeover that looks amazing! We also panelled our bedroom wall in a similar style, because I think it looks so good and adds character.
So now you know how to panel a hallway! Are you going to have a go?


Wow! Your project are so amazing!! Such a great ideas! You inspire me 👍🏻👍🏻😊
Wow beautiful and thank you for your basic insight into angles going to try this now hope it looks as good as yours
Elegant x
Thank you so much! You’ll have to let me know how you got on!
Holly do you do the PANELLING on the bare plastered wall or Put lining paper on first to try to make an old house wall look smoother?
Love the look of this and you have made it look so simple! Can I ask what paint finish you used please? I want to do this up the stairs but obviously want to stop MARKS. did you use a paint for woodwork even on the wall parts? Thank you
Looks Great!
Did you also continue up the stairs or just panel the hallway? whats the view/rule on that? (especially if you have an enclosed staircase at the end of the hallway) thank you!