How to Create Your Own Artwork using Canva
If you follow me on Instagram you’ll know I’m a big fan of typographical prints. I’m also a fan of not really spending any money. Here’s a really quick and easy way to create your own artwork using Canva. It’s quick, easy and FREE! Well, apart from your printing and framing costs. But other than that, its free!
First of all, decide what you’d like your artwork to say. You could use quotes, sayings, words that mean something to you – anything you like. For this example I wanted to add a little Harry Potter magic to Holly’s room so went for a quote from the books.
Once you’ve decided on your wording, go to www.canva.com. This is a website which allows you to create free posters, cards, Facebook posts – basically it’s a digital design studio. Did I mention it’s free? If you don’t have one already, create an account.
The next step is to Create a Design. There’s a little button to click which will bring up all you options for things to create.

Click “Use Custom Dimensions” on the top right of your screen. For an A4 print, the dimensions are 2480 x 3508 pixels (px). For an A5 print the dimensions are 1748 x 2480 pixels (px). If your printer will print to A3 size and you want a larger print, the dimensions for A3 are 3508 x 4961 pixels (px).
A blank “sheet” will appear on your screen. Click on Text on the left hand menu. Next, click Add heading. This will put the cursor onto the blank sheet so you can type your wording.

You can change the font, colour and size to suit your design. One tip would be to have two contrasting fonts. In my example I’ve used a handwriting style font for the main text and then a crisp modern font to contrast for the “Harry Potter”.

Play around with the fonts and colours and see what you like. For each different font or size of text however, you’ll have to add a new text box onto the picture.

To save your finished document, click Download. This will save a copy to your computer which you can then print out. I printed Holly’s print out on plain A4 paper and got a cheap frame from Ikea to display it in.


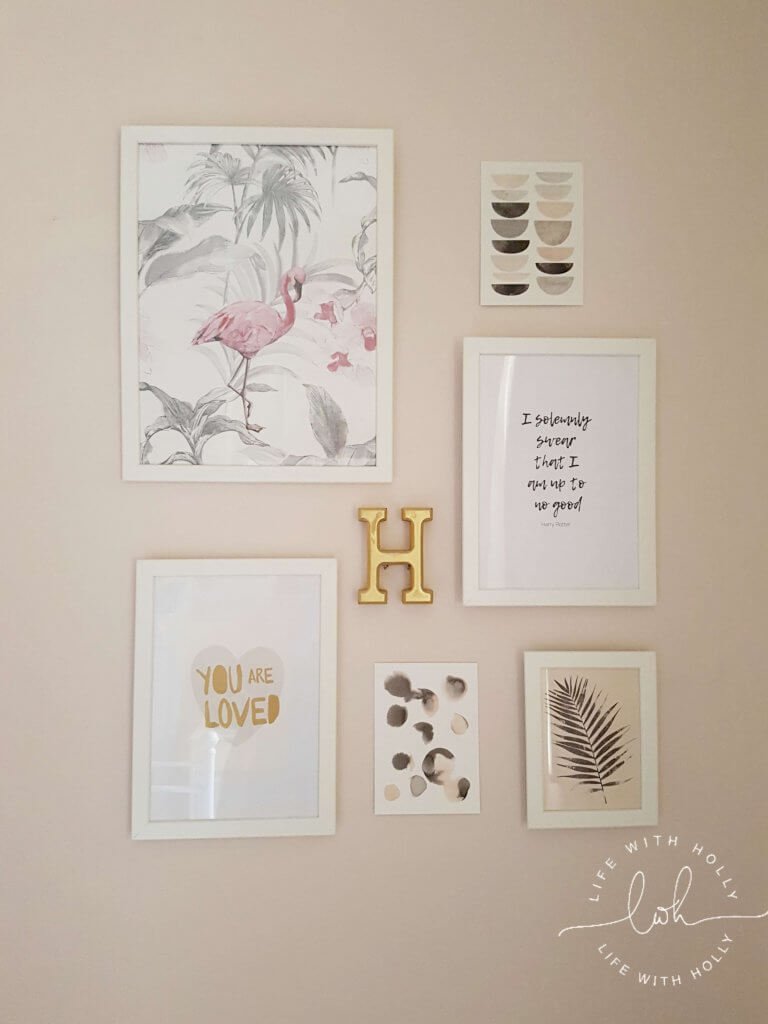
The print works well as part of Holly’s mini gallery wall, and the colours tie in with the rest of her room. And, it cost next to nothing to create!

If you make something, please tag me in it on Instagram. I’d love to see! x
For more girls bedroom inspiration, check out this post on How to Use Paste The Wall Wallpaper.
