Chocolate Peppermint Layer Cake
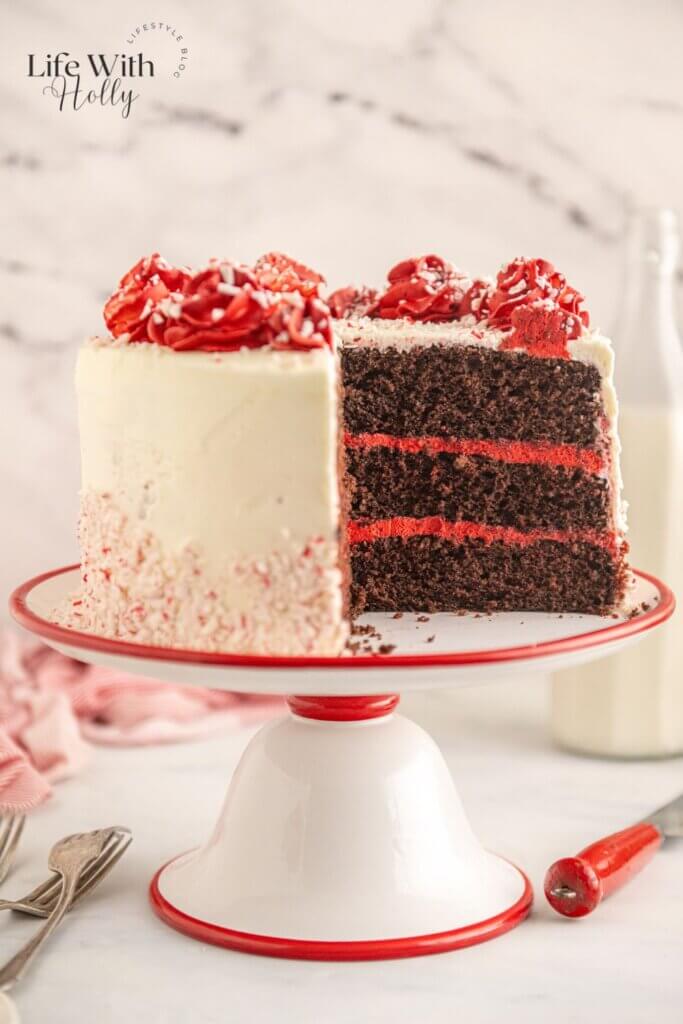
Looking for a fun twist on a classic cake for Christmas? Why not try this easy chocolate peppermint layer cake?! Maybe it’s the three tall layers, maybe it’s the swirl of red and white frosting on top, or maybe it’s just that first bite of rich chocolate sponge with that cool hit of peppermint running through it. Whatever it is, this cake has a way of stopping conversation at the table for all the right reasons.
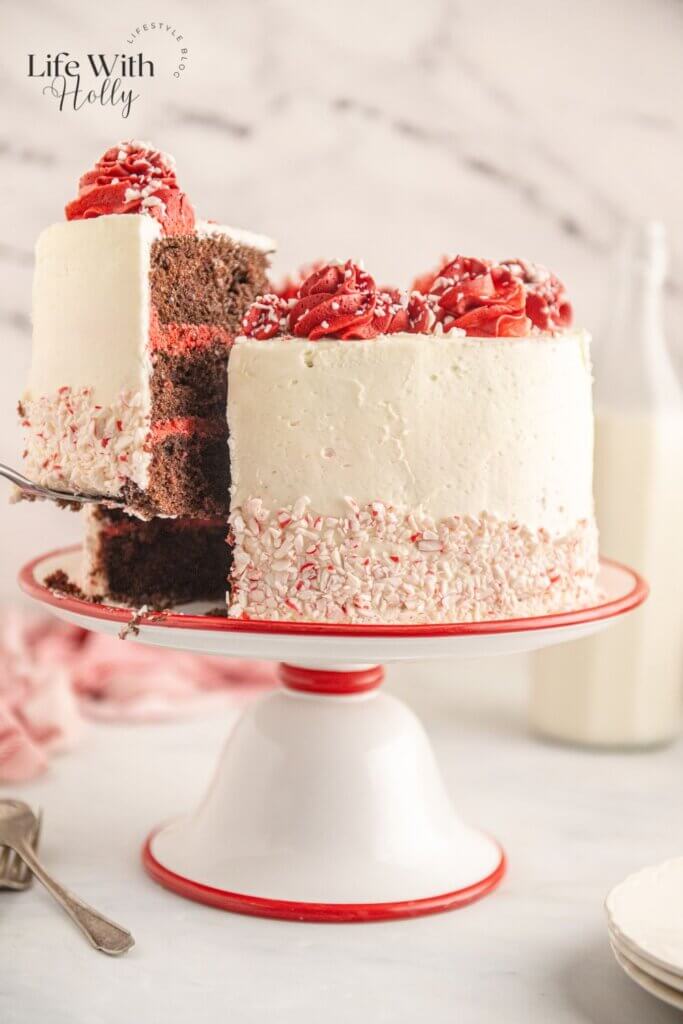
Layer cakes can feel like a big undertaking, but this one is far more forgiving than it looks. There’s no fiddly technique here – just good ingredients, a bit of patience while everything cools, and a piping bag at the end for the fun part. If you’ve been searching for a showstopper that doesn’t actually require showstopper levels of stress, you’ve found it.
Why You’ll Love This Recipe
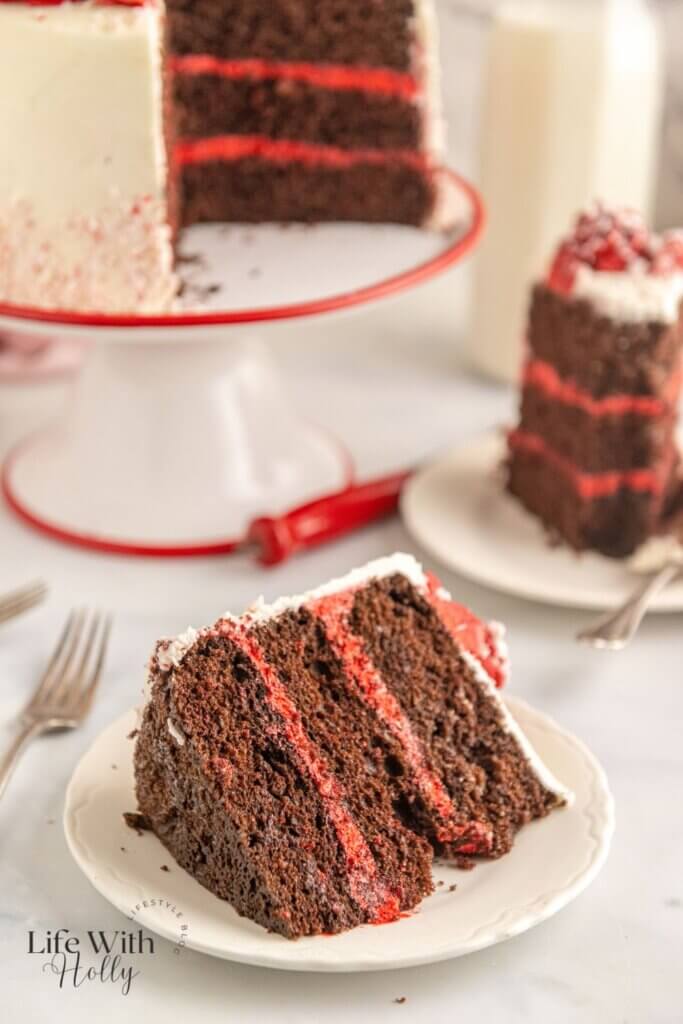
- The sponge is properly rich and moist, thanks to a mix of butter and oil plus a good glug of hot coffee (don’t worry, it won’t taste of coffee at all, it just makes the chocolate flavour sing)
- That peppermint frosting is soooo addictive, light, fluffy, and just the right amount of minty
- It looks like it belongs in a bakery window, but every step is completely doable at home
- Perfect for Christmas, a birthday, or any time you fancy an excuse to bake something a bit special
- The candy cane pieces on top add a lovely bit of crunch and colour without any extra effort
Ingredients Breakdown
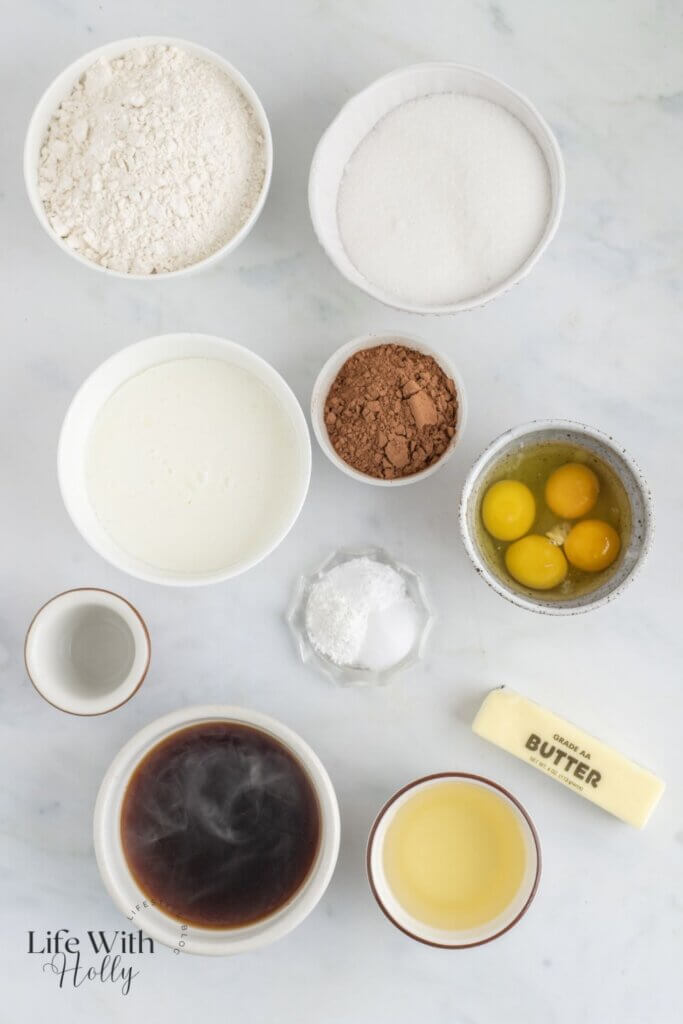
Plain flour/all purpose flour – the base of the sponge, giving it structure. Stick with plain flour here rather than self-raising, since the recipe already has its own raising agents.
Cocoa powder – this is where all that gorgeous chocolate flavour and colour comes from. Go for a good quality cocoa if you can, it really does make a difference.
Baking powder and bicarbonate of soda – together these give the sponge its rise and lightness. Don’t be tempted to swap one for the other, they’re doing slightly different jobs.
Salt – just a small amount to balance out the sweetness and round out the chocolate flavour.
Sugar – for sweetness, obviously, but it also helps keep the sponge soft and tender.
Salted butter – adds richness and flavour. If you only have unsalted, just add a touch more salt to make up for it.
Vegetable oil – working alongside the butter, oil keeps the sponge really moist for days, which butter alone can’t quite manage. Sunflower or a similarly neutral oil works just as well.
Eggs – these bind everything together and help the cake rise properly.
Buttermilk – gives the sponge a lovely tang and tender crumb. No buttermilk in the fridge? You can make your own with milk and a splash of vinegar or lemon juice, more on that in the tips below.
Peppermint extract – the star of the show alongside the chocolate. Make sure you’re using peppermint extract rather than mint essence, as they’re not quite the same strength or flavour.
Hot coffee – this might look like an odd one, but trust the process. It deepens and intensifies the chocolate flavour without making the cake taste of coffee at all. If you’d rather leave it out, hot water works as a substitute.
Icing sugar – the base of the frosting, giving it that classic sweet, smooth texture.
More salted butter – for the frosting, giving it that rich, buttery flavour that balances the sweetness of the icing sugar.
More peppermint extract – ties the frosting back to the sponge so every bite has that cooling mint note.
Melted butter – whipped in towards the end to give the frosting an extra silky, glossy finish.
Red food colouring – entirely optional, but it’s what gives you that classic red and white swirl look on top.
Candy cane pieces – for that finishing touch of crunch, colour, and a bit of festive flair. Also completely optional if you’d rather keep things simple.
Step by Step Instructions
Get your tins ready. Preheat your oven to 175ºC/350°F (or the equivalent for your oven type, more on that in the recipe card below). Line the bottoms of three 9 inch cake tins with parchment paper and give them a light spray with baking spray.
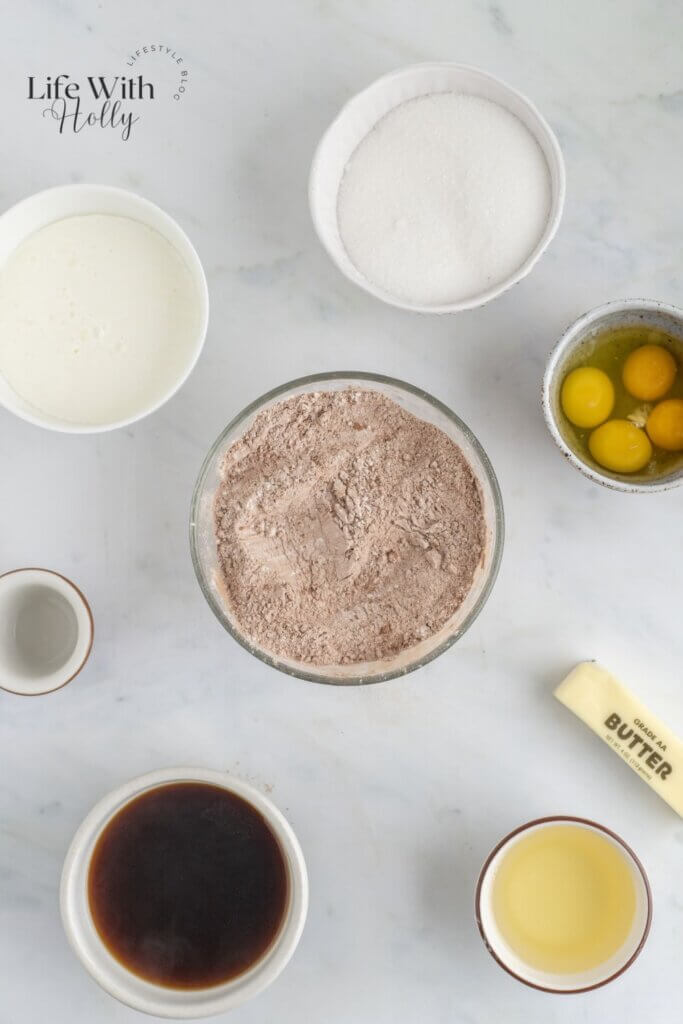
Mix your dry ingredients. In a large bowl, combine the flour, cocoa powder, baking powder, bicarbonate of soda, and salt, then set this aside.
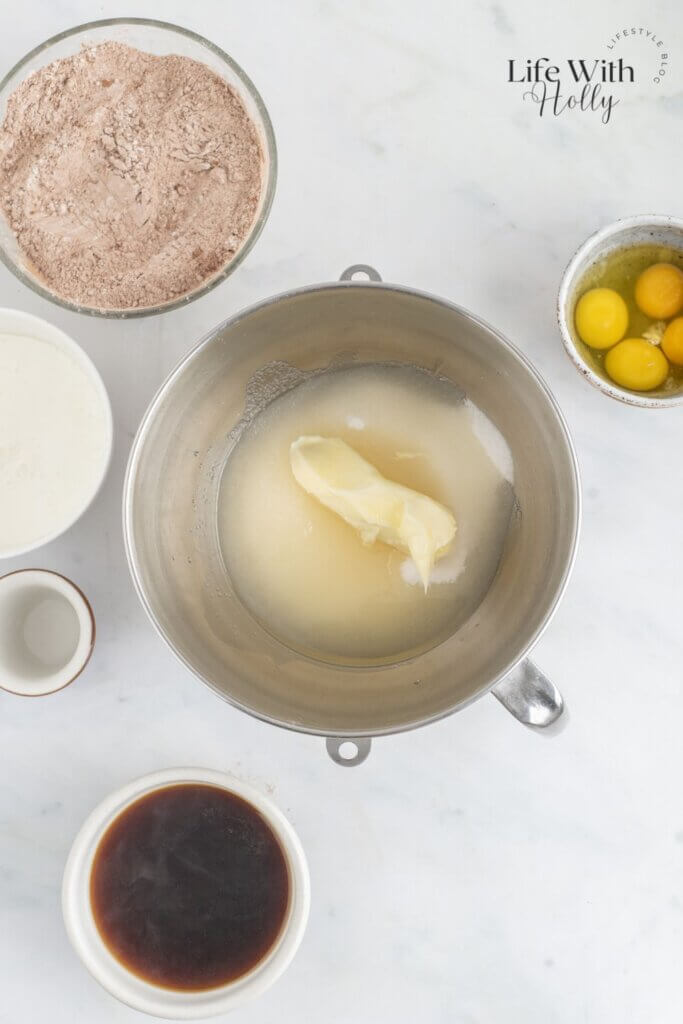
Cream the base. In the bowl of a stand mixer fitted with the paddle attachment, beat together the sugar, room temperature butter, and vegetable oil on medium-high speed for about a minute, until smooth.
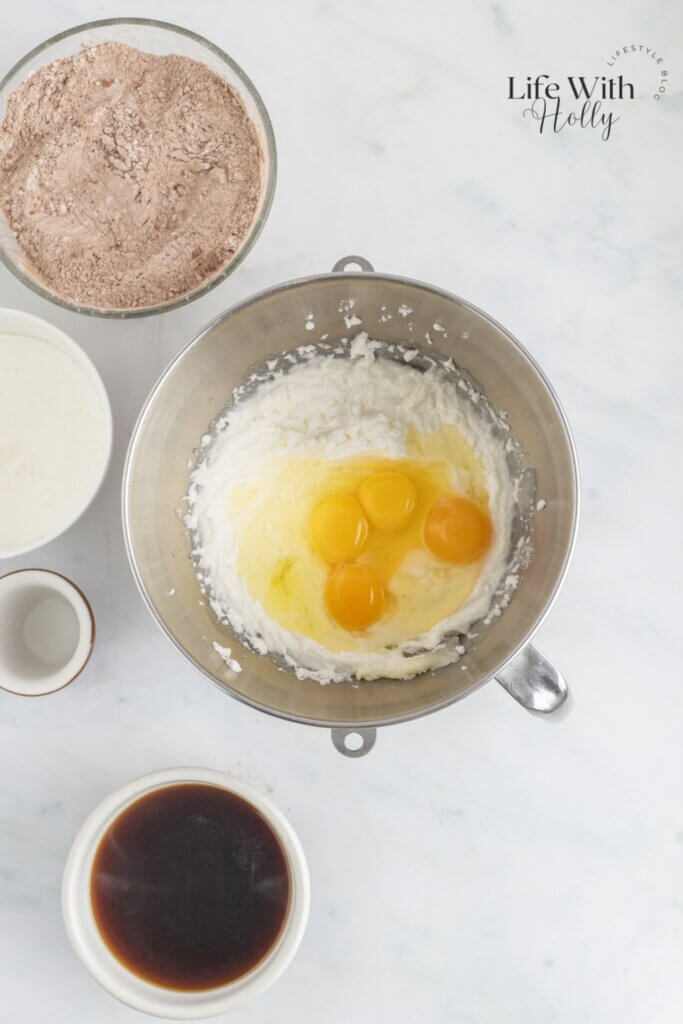
Add the eggs. Mix in the eggs on medium speed for around 30 seconds.
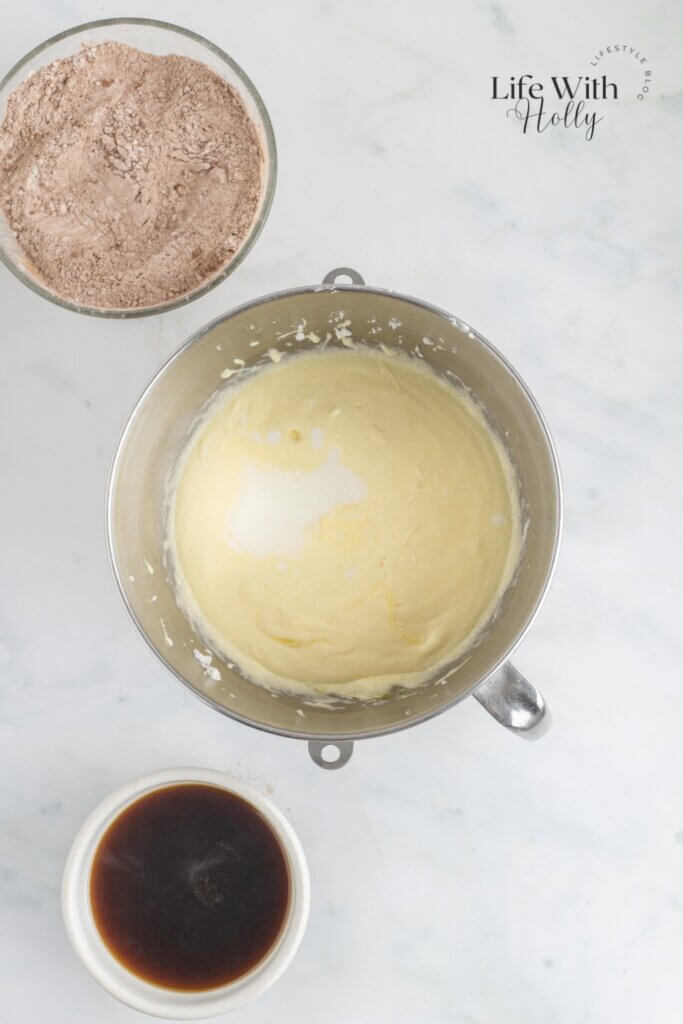
Add the wet ingredients. Pour in the buttermilk and peppermint extract and mix for another 30 seconds.
Bring it together. Add the dry ingredients into the mixer and mix until just combined, taking care not to overmix.
Add the coffee. With the mixer still running on a low speed, pour in the hot coffee and mix until just incorporated. The batter will be quite thin, but that’s exactly what you want.
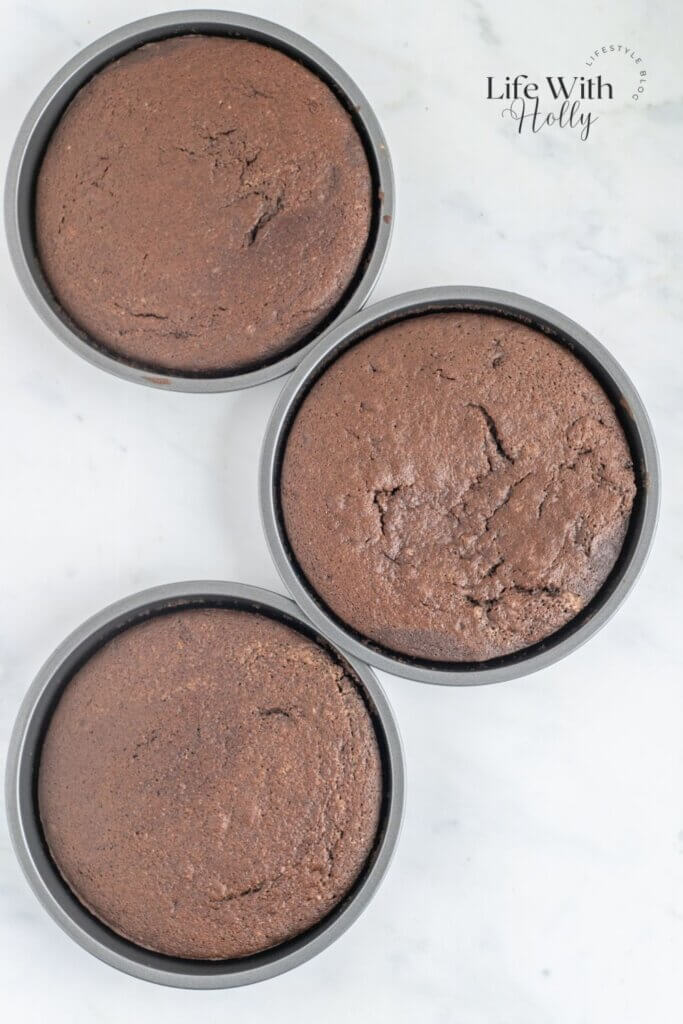
Divide and bake. Split the batter evenly between your three prepared tins and place them on the centre rack of the oven. Bake for 35 minutes, or until a toothpick inserted into the middle comes out clean or with just a few moist crumbs.
Cool completely. Leave the cakes in their tins and transfer them to a wire rack to cool fully before you even think about frosting them. This bit takes patience, but it’s important – buttercream and hot cakes do not play well.
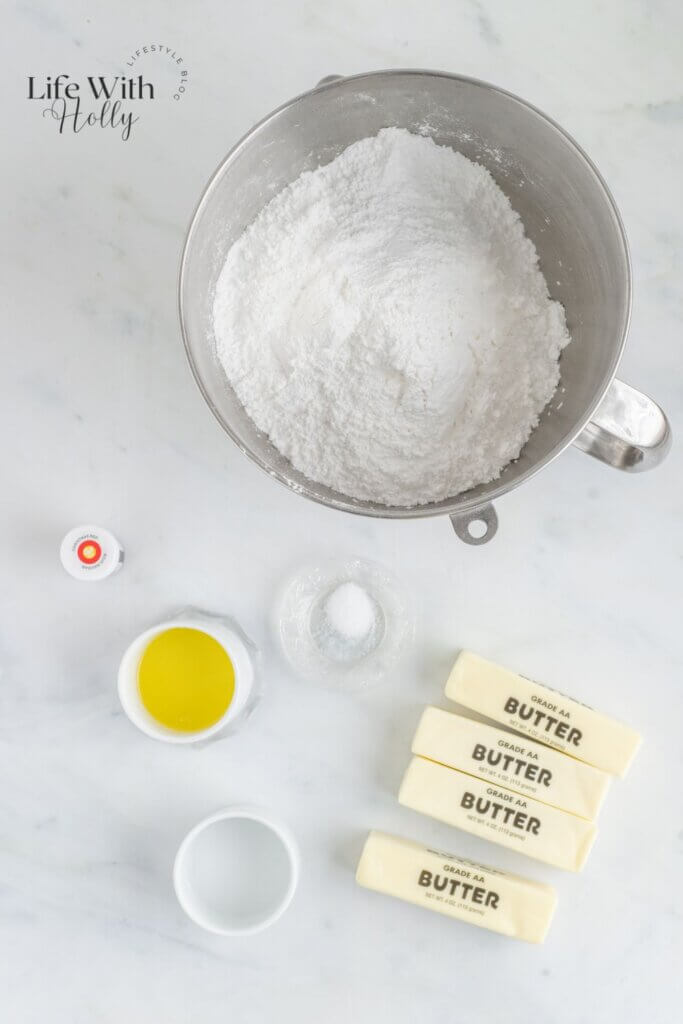
Make the buttercream base. In a clean stand mixer bowl fitted with the paddle attachment, combine the icing sugar, room temperature butter, peppermint extract, and salt. Beat on low speed for 1 to 2 minutes until the icing sugar is fully incorporated.
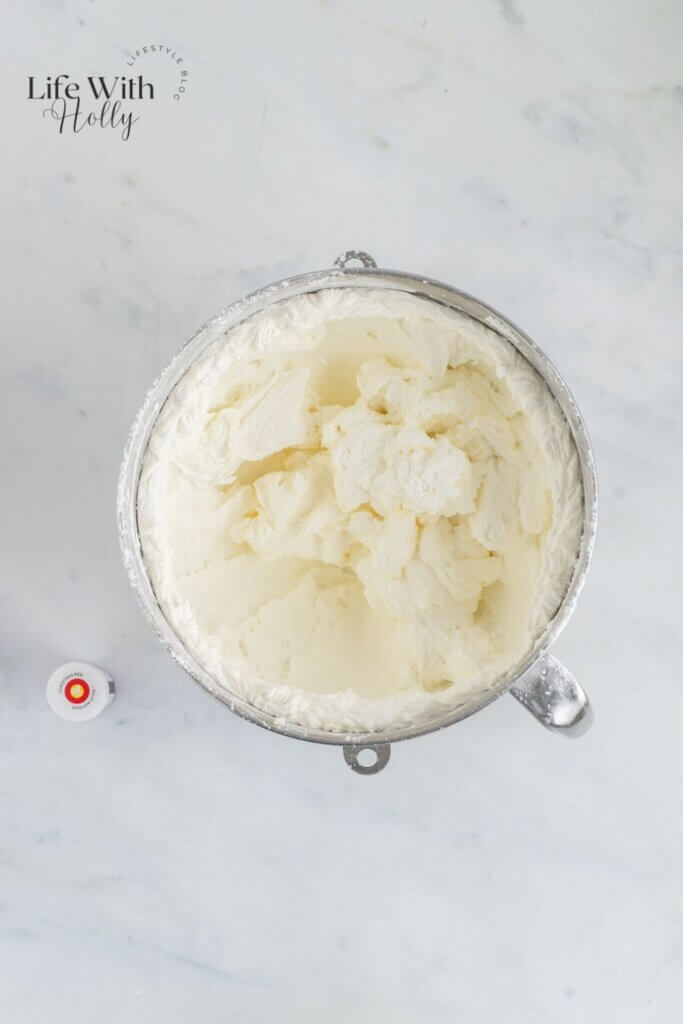
Whip it up. Increase the speed to medium and add the melted butter, then turn the mixer up to high and whip for 6 minutes, until the frosting turns pale, white, and lovely and fluffy.
Split and colour. Transfer most of the frosting to a separate bowl, leaving around 2 cups behind in the mixer bowl for the decorative swirls. Add drops of red food colouring to the remaining frosting until you reach the shade you’re after.
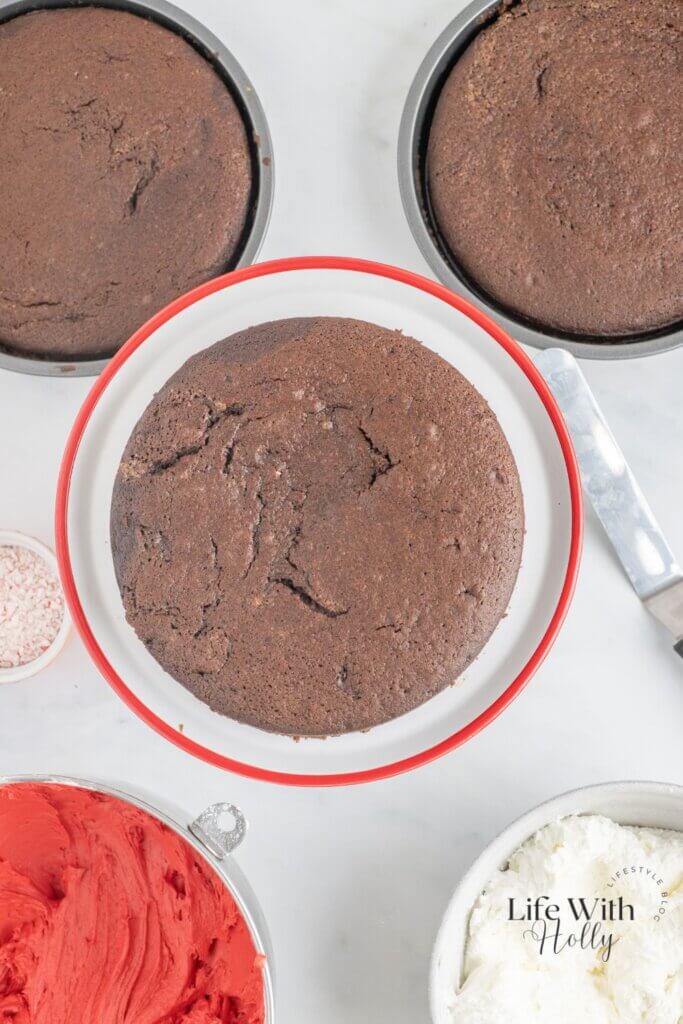
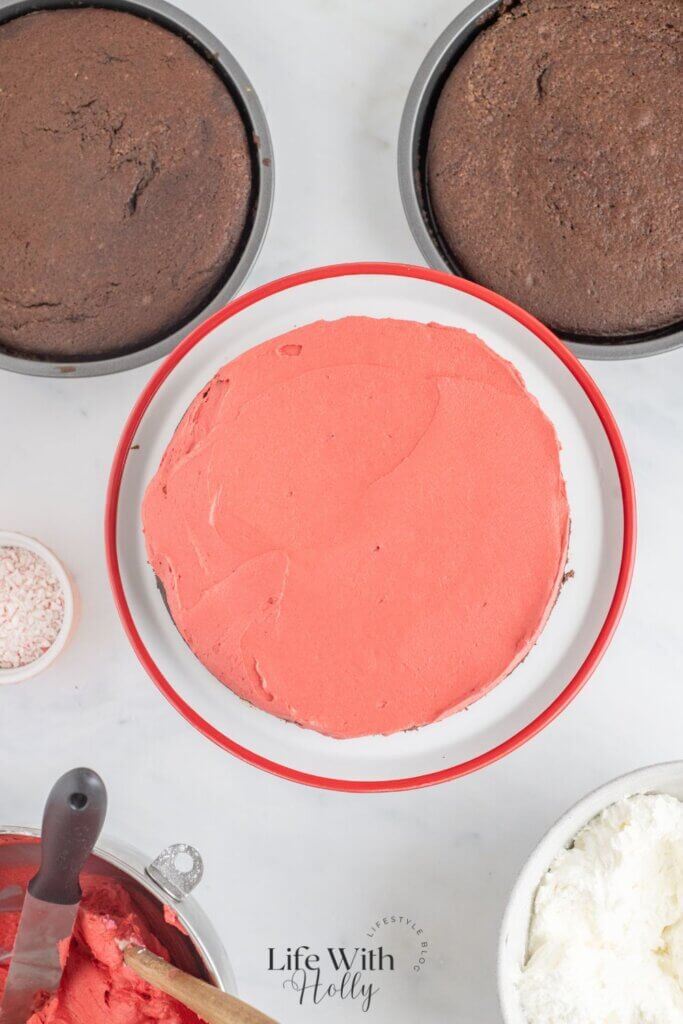
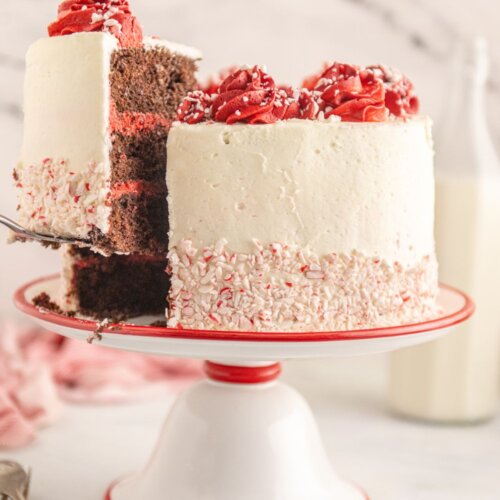
Layer the cake. Once the sponges are completely cool, carefully remove them from their tins. Place the first layer on a plate or cake stand and spread red frosting evenly over the top with an icing spatula.
Repeat and stack. Add the second layer and repeat, then top with the third layer. Set aside whatever red frosting is left over for decorating later.
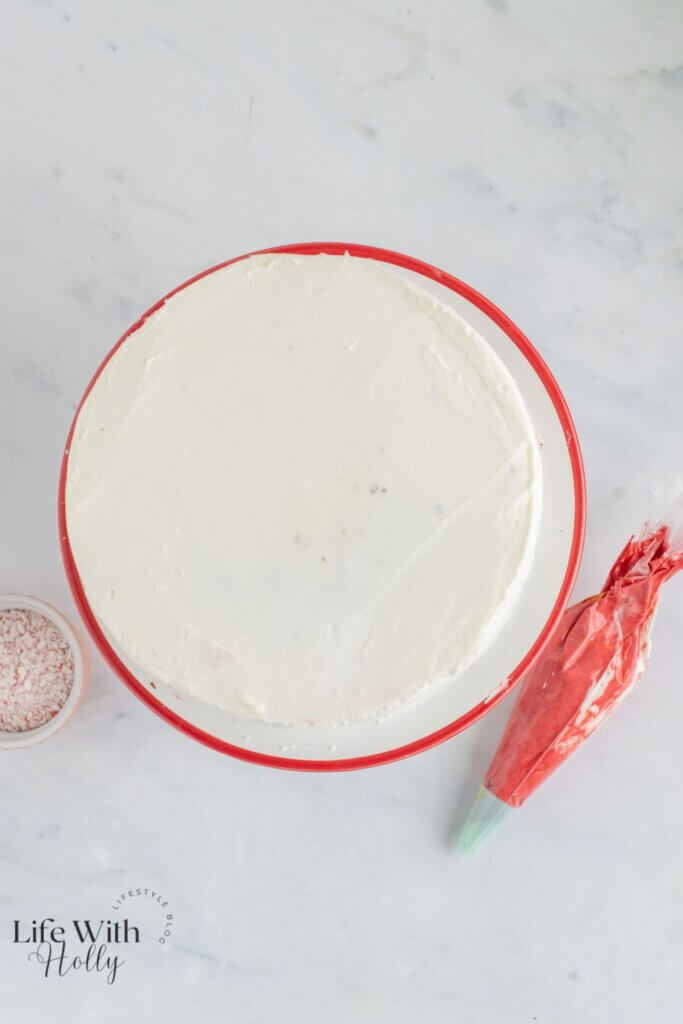
Crumb coat. Use the white frosting to cover the top and sides of the cake in a thin crumb coat. Pop it in the fridge for 20 minutes to firm up.
Final coat. Once set, take the cake out and apply a smooth, thicker layer of white frosting over the top and sides.
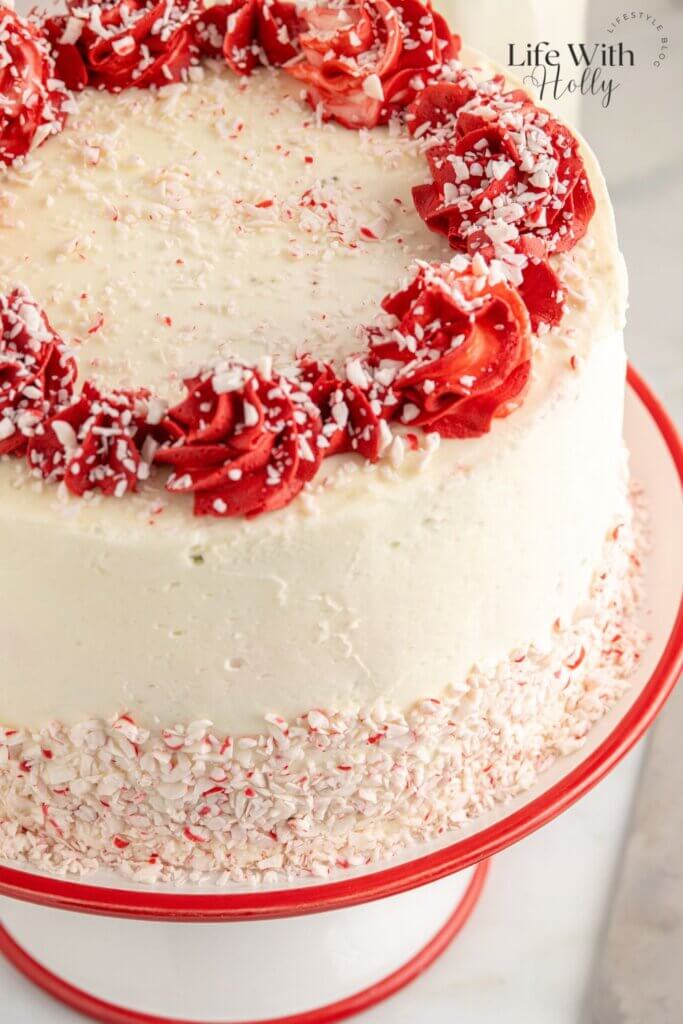
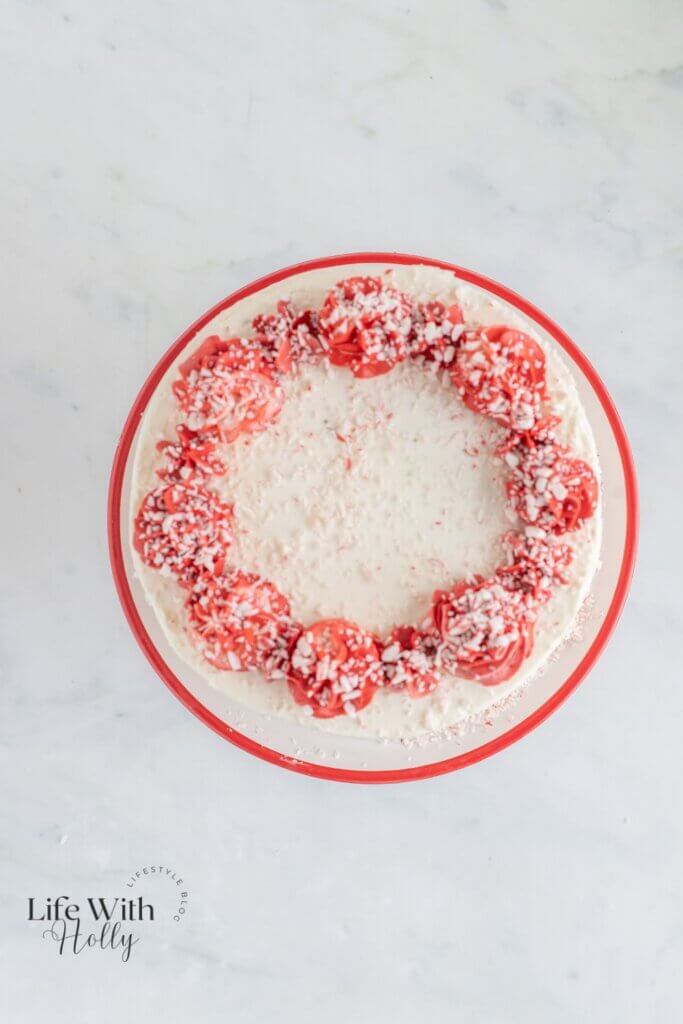
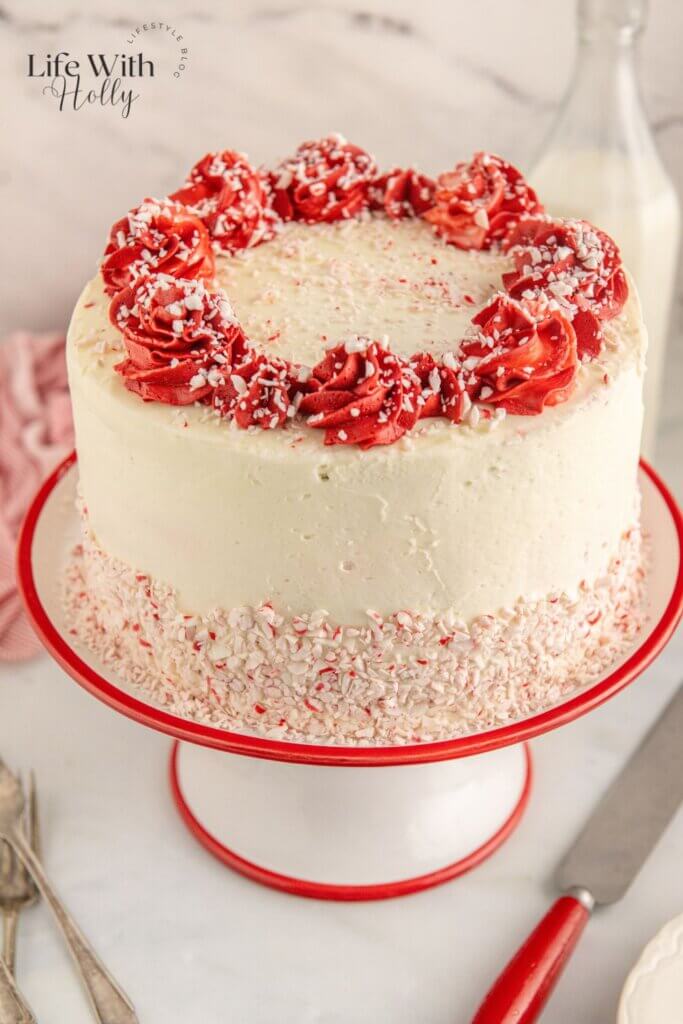
Pipe your swirls. Spoon the remaining frosting into a piping bag fitted with a star tip and pipe swirls across the top, using red, white, or a mix of both.
Finish it off. Press crushed candy cane pieces into the sides of the cake and scatter more over the top if you like.
Tips for Success
- Don’t rush the mixing stage. Overmixing once the flour goes in can overdevelop the gluten and leave you with a dense or crumbly sponge rather than a light one.
- Make sure everything – butter, eggs, buttermilk – is properly at room temperature before you start. It makes a real difference to how smooth and even your batter and frosting turn out.
- While whipping the buttercream, stop the mixer every so often and scrape down the sides of the bowl with a spatula, so you don’t end up with lumps.
- Give the frosting its full whipping time. It really does need those 6 minutes to get properly light and fluffy.
- Store any leftover cake in an airtight container and it’ll keep well for up to 3 days.
FAQ
Can I make this cake ahead of time? Yes, the sponges can be baked a day or two in advance. Just let them cool completely, then wrap them well and keep them at room temperature until you’re ready to frost.
Do I need to use buttermilk? It’s worth using if you can, since it gives the sponge a lovely tender crumb, but you can make your own at home if you don’t have any. Details are in the ingredients breakdown above.
Will the cake taste of coffee? Not at all. The hot coffee is there purely to deepen the chocolate flavour, it doesn’t come through as a coffee taste in the finished cake.
Can I skip the food colouring and candy canes? Absolutely, both are optional. The cake will taste exactly the same, it’ll just look a little different without the red swirls and crunch on top.
What if I don’t have three cake tins? You can bake the layers in batches using one or two tins, just keep the remaining batter covered at room temperature while you wait, and adjust your bake time slightly if needed.
Chocolate Peppermint Layer Cake
Equipment
- Baking Paper/Greaseproof Paper
- 3 9 Inch Round Cake Tin
- Mixing Bowls
Ingredients
Chocolate Peppermint Cake
- 375 g plain flour 3 cups all purpose flour
- 60 g cocoa powder ⅔ cup cocoa
- 2 tsp baking powder
- 1 ½ tsp bicarbonate of soda
- 1 tsp salt
- 400 g caster sugar 2 cups sugar
- 115 g salted butter at room temperature ½ cup salted butter
- 120 ml vegetable oil ½ cup vegetable oil
- 3 eggs + 1 egg yolk
- 320 ml buttermilk 1 ⅓ cups buttermilk
- 1 ½ tsp peppermint extract
- 240 ml hot coffee 1 cup hot coffee
Peppermint Frosting
- 780 g icing sugar 6 ½ cups powdered sugar
- 450 g salted butter at room temperature 2 cups salted butter
- 1 ½ tsp peppermint extract
- ½ tsp salt
- 45 g salted butter melted 3 tbsp butter, melted
- Red food colouring optional
- Candy cane pieces for topping optional
Instructions
- Get your tins ready. Preheat your oven to 350°F (or the equivalent for your oven type, more on that in the recipe card below). Line the bottoms of three 9 inch cake tins with parchment paper and give them a light spray with baking spray.
- Mix your dry ingredients. In a large bowl, combine the flour, cocoa powder, baking powder, bicarbonate of soda, and salt, then set this aside.
- Cream the base. In the bowl of a stand mixer fitted with the paddle attachment, beat together the sugar, room temperature butter, and vegetable oil on medium-high speed for about a minute, until smooth.
- Add the eggs. Mix in the eggs on medium speed for around 30 seconds.
- Add the wet ingredients. Pour in the buttermilk and peppermint extract and mix for another 30 seconds.
- Bring it together. Add the dry ingredients into the mixer and mix until just combined, taking care not to overmix.
- Add the coffee. With the mixer still running on a low speed, pour in the hot coffee and mix until just incorporated. The batter will be quite thin, but that’s exactly what you want.
- Divide and bake. Split the batter evenly between your three prepared tins and place them on the centre rack of the oven. Bake for 35 minutes, or until a toothpick inserted into the middle comes out clean or with just a few moist crumbs.
- Cool completely. Leave the cakes in their tins and transfer them to a wire rack to cool fully before you even think about frosting them. This bit takes patience, but it’s important.
- Make the frosting base. In a clean stand mixer bowl fitted with the paddle attachment, combine the icing sugar, room temperature butter, peppermint extract, and salt. Beat on low speed for 1 to 2 minutes until the icing sugar is fully incorporated.
- Whip it up. Increase the speed to medium and add the melted butter, then turn the mixer up to high and whip for 6 minutes, until the frosting turns pale, white, and lovely and fluffy.
- Split and colour. Transfer most of the frosting to a separate bowl, leaving around 2 cups behind in the mixer bowl for the decorative swirls. Add drops of red food colouring to the remaining frosting until you reach the shade you’re after.
- Layer the cake. Once the sponges are completely cool, carefully remove them from their tins. Place the first layer on a plate or cake stand and spread red frosting evenly over the top with an icing spatula.
- Repeat and stack. Add the second layer and repeat, then top with the third layer. Set aside whatever red frosting is left over for decorating later.
- Crumb coat. Use the white frosting to cover the top and sides of the cake in a thin crumb coat. Pop it in the fridge for 20 minutes to firm up.
- Final coat. Once set, take the cake out and apply a smooth, thicker layer of white frosting over the top and sides.
- Pipe your swirls. Spoon the remaining frosting into a piping bag fitted with a star tip and pipe swirls across the top, using red, white, or a mix of both.
- Finish it off. Press crushed candy cane pieces into the sides of the cake and scatter more over the top if you like.
You might also like: