Our Master Bedroom Transformation – with Wall Panelling Tutorial!
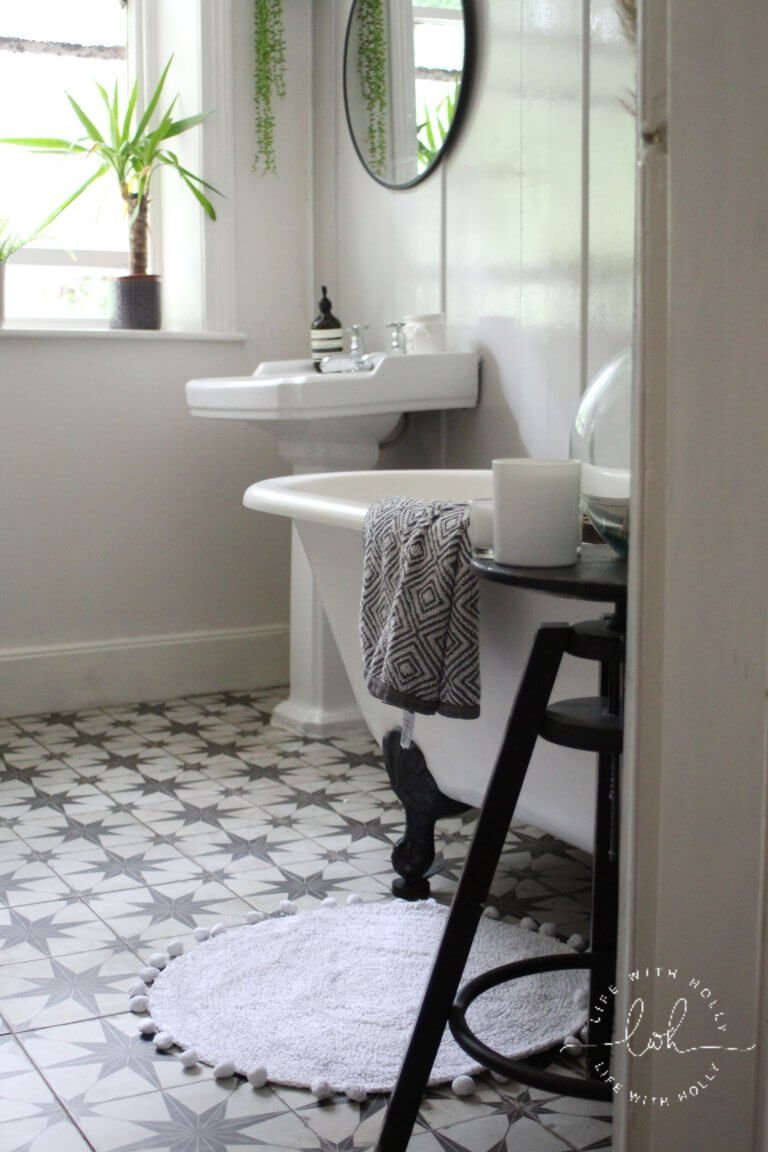
I’ve always had a thing for period houses. They’re so full of character! Victorian houses especially appeal to me as they are sometimes unnecessarily grand, just for the sake of it. Our tiny terrace has grand skirting boards, coving and ceiling roses, all designed to impress visitors and give the impression that it’s a mini mansion! It’s really not, it’s just a three bedroom terraced house on a hill. In keeping with all things Victorian though, and following on from our shoestring bathroom makeover, I felt our bedroom was a bit bland. Boring. Bit student-ish. I wanted something a bit glamorous, a bit hotelly I guess! I love bedroom wall panelling, so cue the wall panelling tutorial!

This post may contain affiliate links, which means I may receive a small commission, at no cost to you, if you decide to purchase the items using the links. Thank you. Read the full Privacy Policy here. For more information please see our Disclaimer page.
I’ve seen panelled walls at a lot of the country houses I’ve visited, and it’s a big trend on Instagram at the moment with accounts such as @thehousethatblackbuilt, @houseofspolland and @insidethemanse embracing this trend. I loved it. I wanted it. I did it!
For a detailed tutorial, Head over to the amazing The House That Black Built’s blog. We followed Chelsea’s instructions and are so pleased with the results. Who would have thought bits of wood stuck on walls would look so good?!

To start with, I measured our walls and made a plan. I love a scale drawing, it makes me feel like a proper architect or designer. I’m really not though.
What Tools do You Need for Wood Panelling?
You will need:
- Your plan (if you have one)
- Pine beading (I used this one)
- Dado rail (I used this one)
- Wood offcut
- Tenon saw (or any kind of saw really, I don’t think it matters too much as long as it’s a hand saw)
- Mitre Box
- Spirit level
- No More Nails/Stixall
- Decorators caulk
- Pencil
- Tape measure
- Cardboard
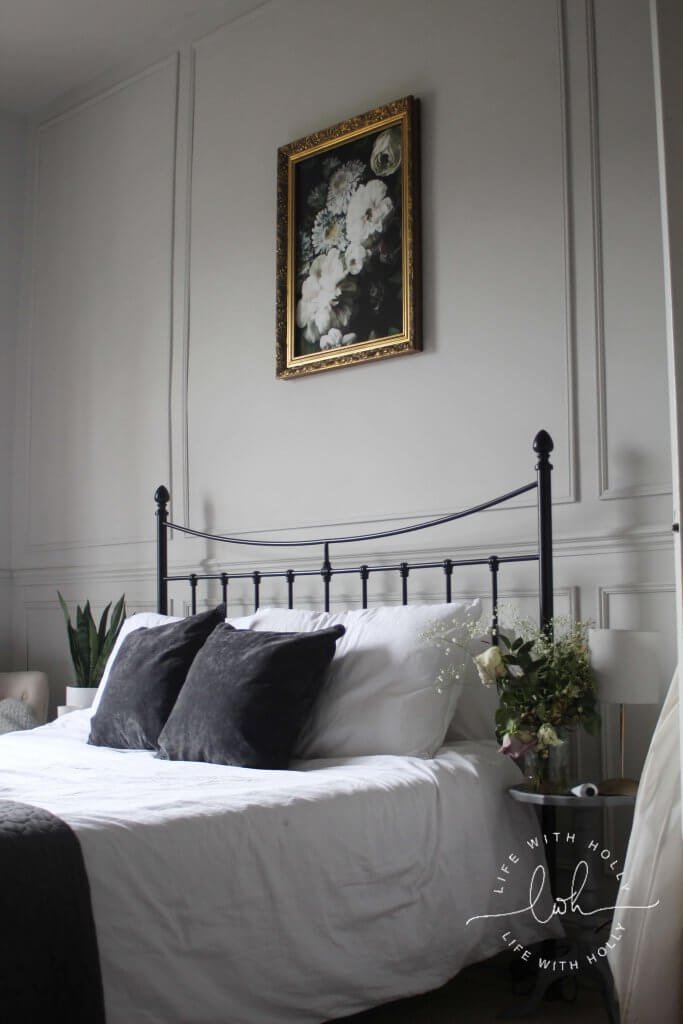
We wanted a dado rail going around the whole room. I wanted panels above and below this. I decided to have the wall behind the bed split into 3, with one larger panel for the bed and two smaller panels either side. There’s one panel over the door, and a stupid piddly little one around the light switch.
Using my little scale plan, I worked out how much moulding we would need. We used 9mm moulding from B&Q. They come in 2400mm lengths, which luckily appears to be the exact length of my 206… (thank goodness!).
To start panelling, we first put the dado rail up. We measured 900mm from the skirting board and drew a line on the wall, using a spirit level to get a straight line. We used Stixall, which is a multi purpose adhesive, to attach the dado to the wall and put a few pins in underneath to support it while the adhesive dried.


Next I found the centre point of the wall and drew a line. Using my plan, I knew the measurement of the pieces to go behind the bed so we cut them to size. We cut two to the same measurement and used our Mitre box to get a nice neat 45° angle on the end of each, using a tenon saw to cut the wood. Our measurement was always the longest edge, as when you cut the wood on an angle you have a longer edge and a shorter edge. I marked the centre point of these pieces and we attached them to the wall, matching the marks on the wall to the marks on the moulding.

We carried on around the wall, using a spirit level to ensure the panels were straight (the walls definitely are not! Check out the wonk on these…).


When we’d finished, we used decorators caulk to fill in the tiny gaps between the moulding and the wonky walls and smoothed with a wet wipe. You’ll need to get as much caulk off the walls as possible before it dries as if you’ve got too much on, when you paint it the paint might crack and look a bit rubbish.

When it’s all dry, it’s ready to paint! We painted the whole thing the same colour as I only wanted a subtle effect. We got a Valspar colour match of Ammonite by Farrow and Ball. The Valspar has a built in primer, which meant it only needed one coat to cover the existing Downpipe!

I bloody love our new bedroom, it finally feels like a grown up space and was so easy to do! I hope you liked this wall panelling tutorial!


Let me know if you fancy giving bedroom wall panelling a go! It’s really quick and easy, and the whole thing cost less than £150. x

Looks awesome, Did you continue the dado rail around the entire room and did you paint the whole room the same colour or have your panelled wall as a feature wall
Hi! The dado goes all around the room but we weren’t sure whether or not to continue the panelling, so we haven’t. It’s all painted the same colour – I’ve learned that I can’t cope with too much colour or things standing out. Are you planning to do something similar?
Any tips doing a room with different sized walls? was thinking of one panel, no dado or bottom panelling??
Hi Kathy
I would plan it out on paper first and get the layout as you want it. I like to plan out to scale so I can work out how much trim wood I will need. There are no rules as to how the panelling has to look – you do whatever works for your room.
Hope this helps but let me know if I can help more.
Best wishes x