Victorian Hallway Makeover – Sanding Original Floorboards
Wondering how to sand original floorboards? This post will give you a guide to sanding original floor boards. Read more now.
Following on from my inspiration post on our Victorian hallway makeover, my hatred of the hallway carpet increased to ridiculous levels after our chimney fire. The firemen (obviously doing a brilliant job, stopping our house burning down) had left a dirty trail all over the carpet. I said to Mr R that no sane person puts carpet in a hallway (apologies if you have!) but he stubbornly said it looked OK. I had to work hard to win this battle. Mr R said a definite “No f*&cking way” to us sanding original floorboards. “They’ll be too draughty”, he said, “they’ll be too cold”. I rebelled against this negativity and ripped up the carpet one day while he was out, so basically he had no choice. There was no way he was paying for another carpet!
This is the BEFORE. It’s disgusting.
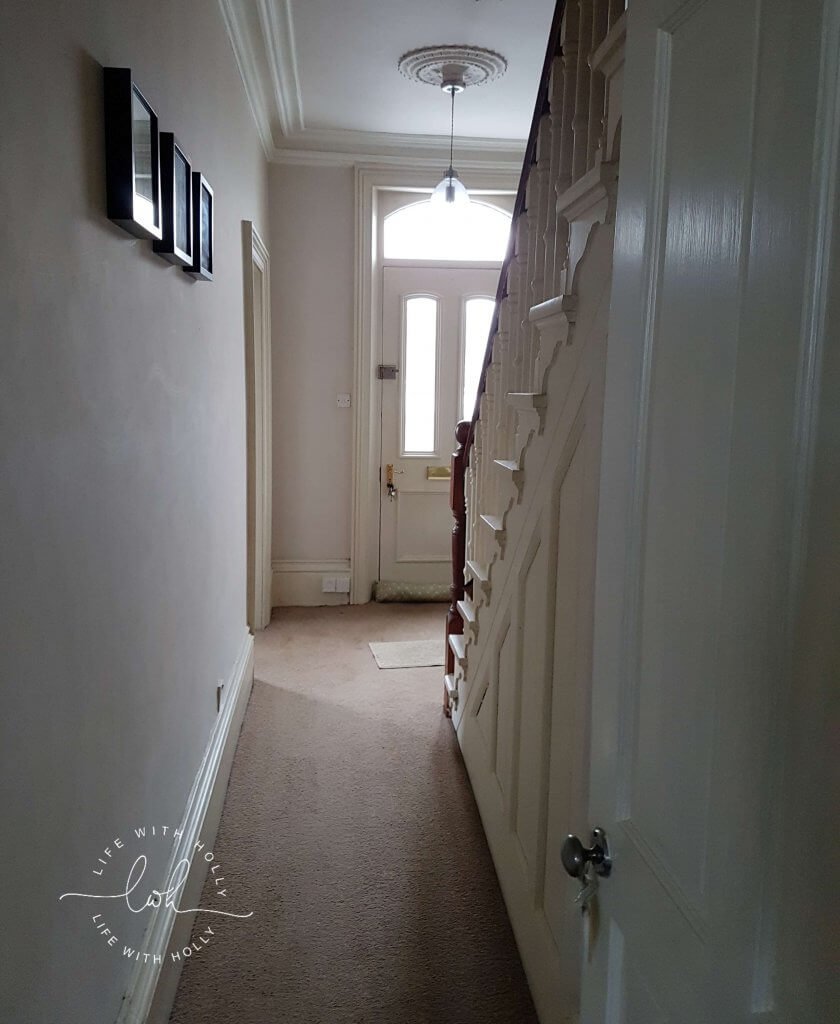

To start with (after we piled the carpet up to take to the tip) we had to remove the underlay and the grip rods. These were nailed into the floorboards so we used a hammer and a chisel to prise them up. This didn’t take long but they are spiky AF so if you do this, maybe wear gloves. We didn’t so our hands were wrecked.


Next we needed to go over each board and pull out any additional stray nails or staples that had been left behind over the years. I ran the vacuum cleaner over everything to get any loose ones.
We (I say we, you know by know that this was a Mr R job. Same as bins) then filled in the holes with an apparently clear filler. Turns out it ISN’T clear, but heyho. I can live with it.

We had ordered a roll of plastic dust sheets from Screwfix and sealed off as much of the stairs as I could. I also covered the radiator and the light fitting as I didn’t fancy cleaning shitty dusty mank out of the ceiling rose forever. We still had dust on the stairs but, as I want to replace that carpet too eventually, I didn’t mind.


Then it was time to sand! As our hallway isn’t large, we didn’t use a big ol’ floor sander. We used a belt sander and got a ton of sandpaper from Screwfix. I don’t know about you but buying things from Screwfix always makes me feel like I know what I’m doing. Even though I don’t. Mr R donned a sexy AF dust mask and set to work, sanding with the grain of the wood. It only took a couple of hours as the space isn’t massive (alas) and before long we were left with gorgeous original floorboards. We started with a rough grade of paper and then gave it a final rub down with a finer grade.

I nearly forgot – we sanded the edges by hand as the sander wouldn’t get close enough to the edge. We used a sanding block to get a nice edge to the sandpaper and it didn’t take long.

I sealed them with a clear varnish from B&Q as it was cheap! It’s done an alright job.

I’ll pop on another post about repainting although it’s still not finished! I can show you what we’ve done so far though.


